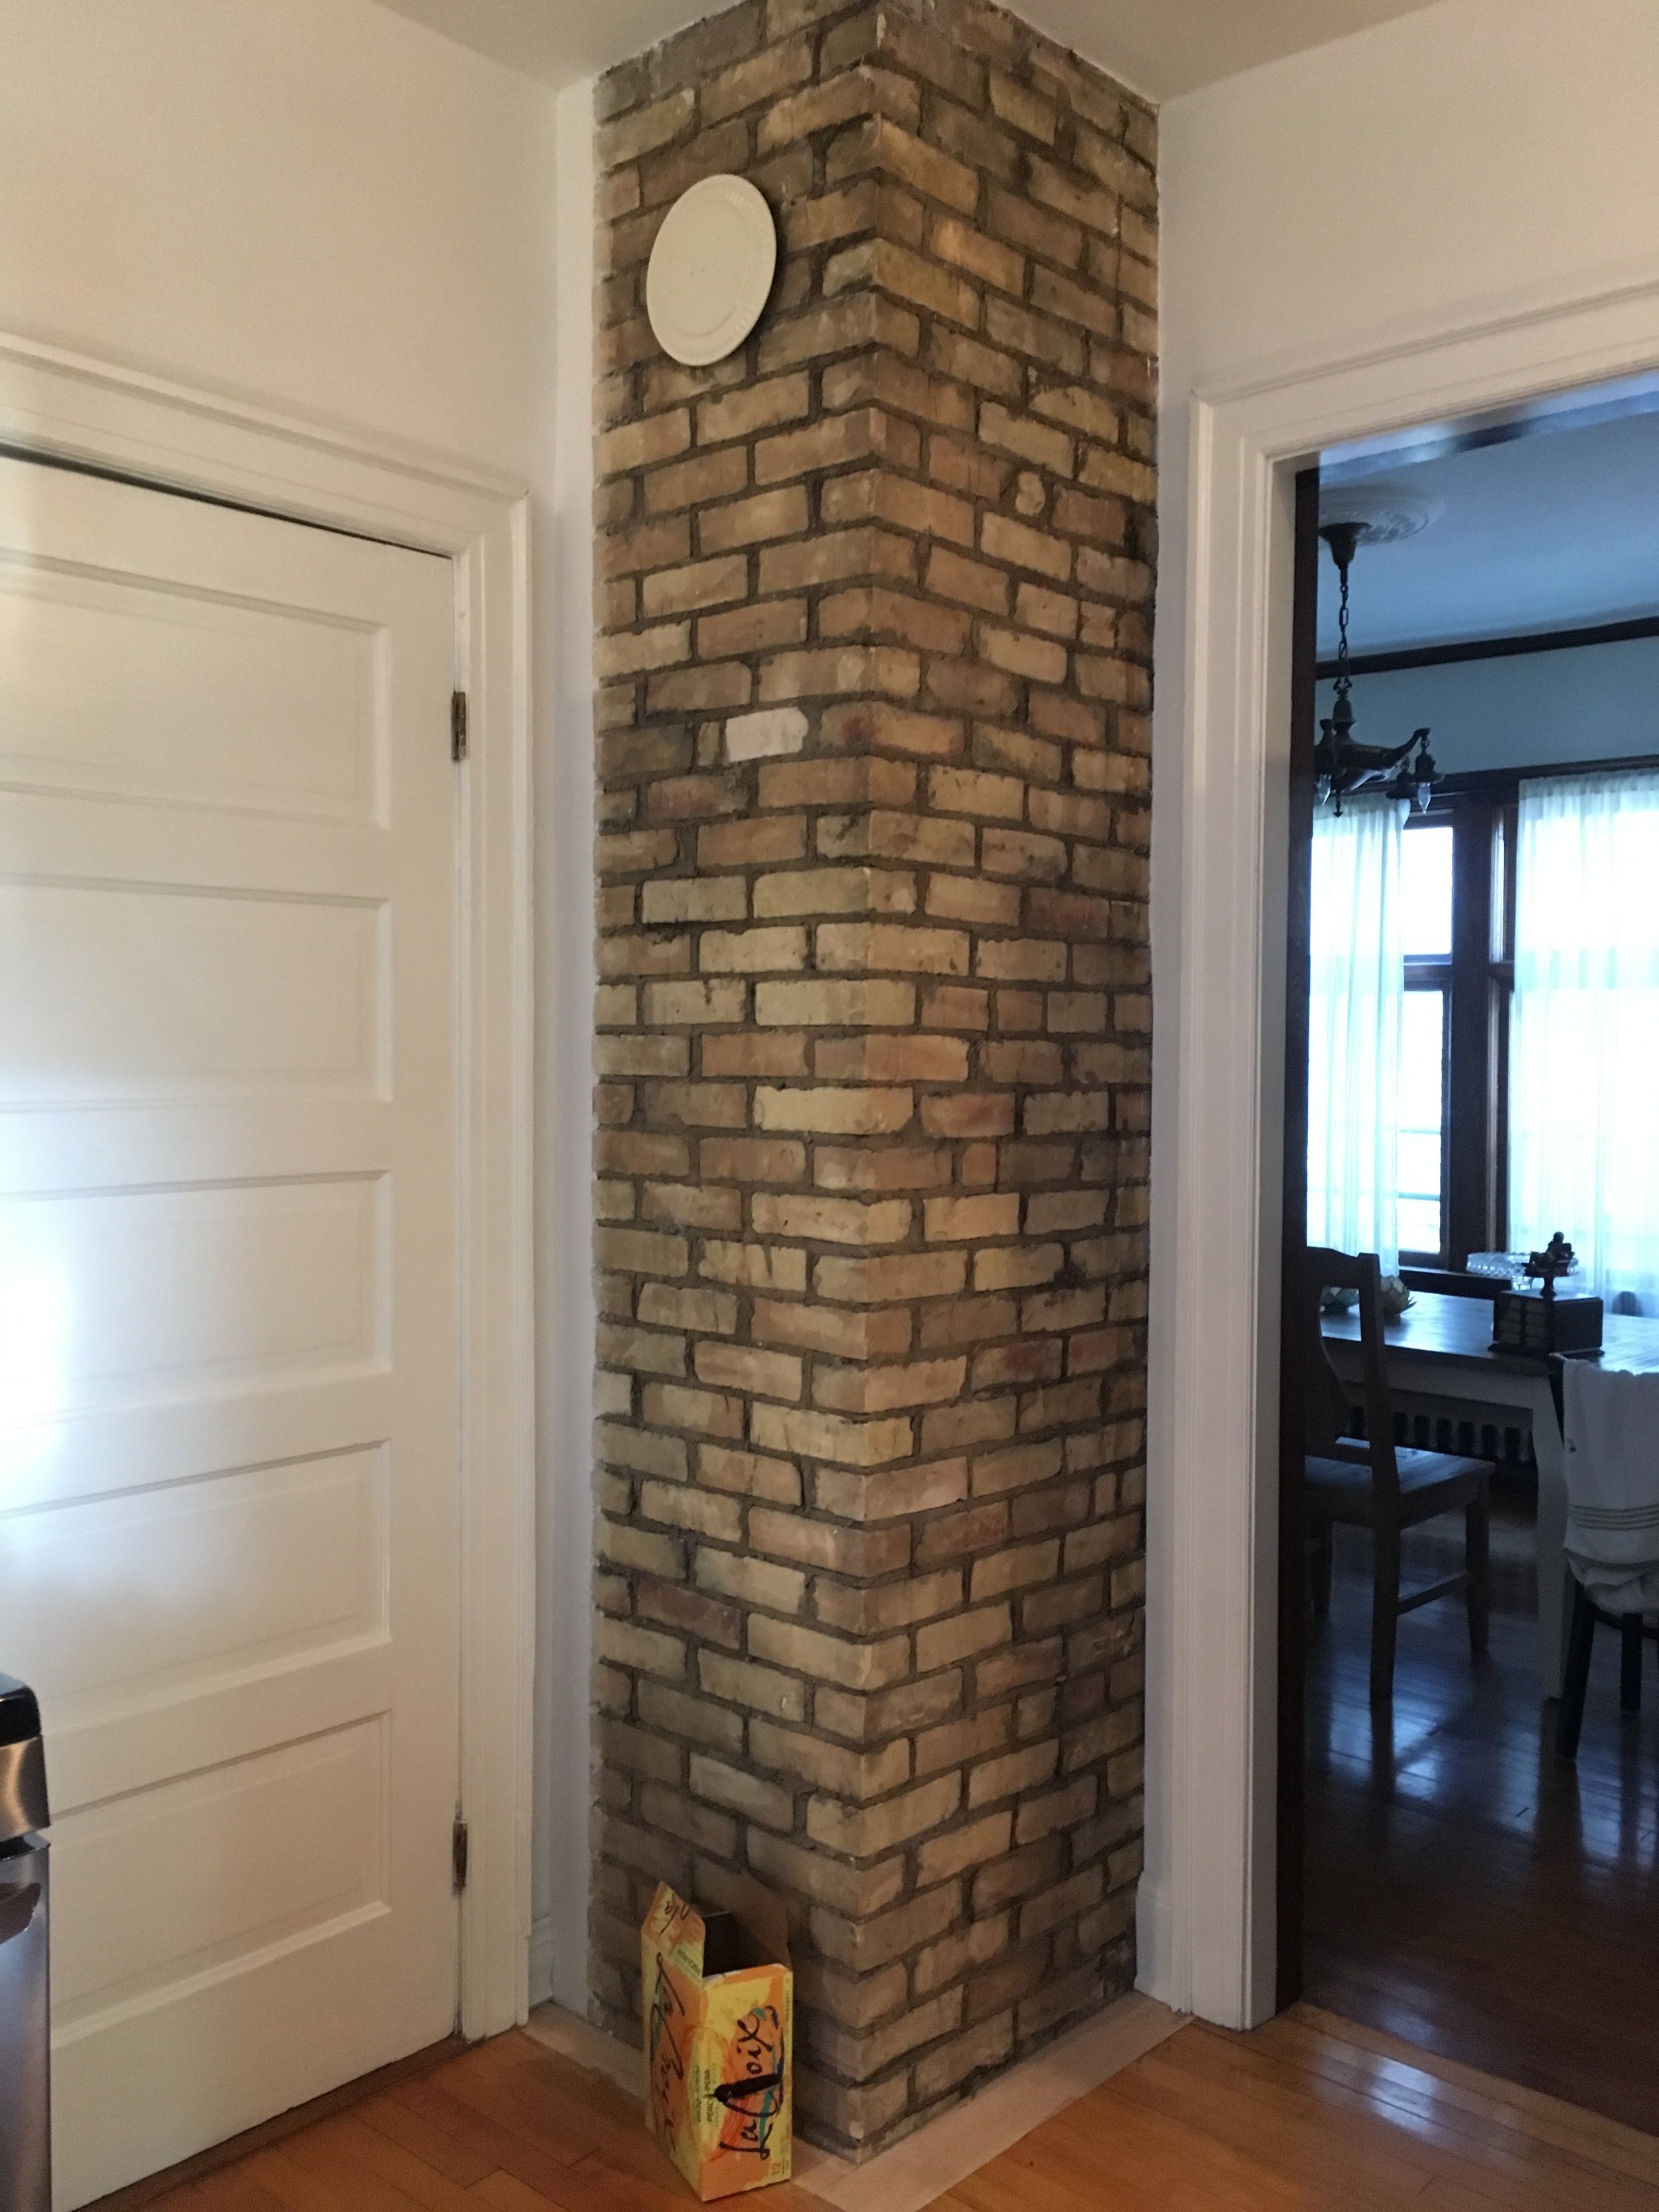
The finished exposed brick chimney and some La Croix!
So not exactly a week later, but it is autumn and I’m trying to keep my promises about writing more regularly! Our kitchen is finished! It seemed like a long road, but now that it is complete the amnesia of renovation has set in, my sister and I believe that if we could accurately remember the details of any renovation in the past we might not pursue future projects :) Thank goodness for amnesia!
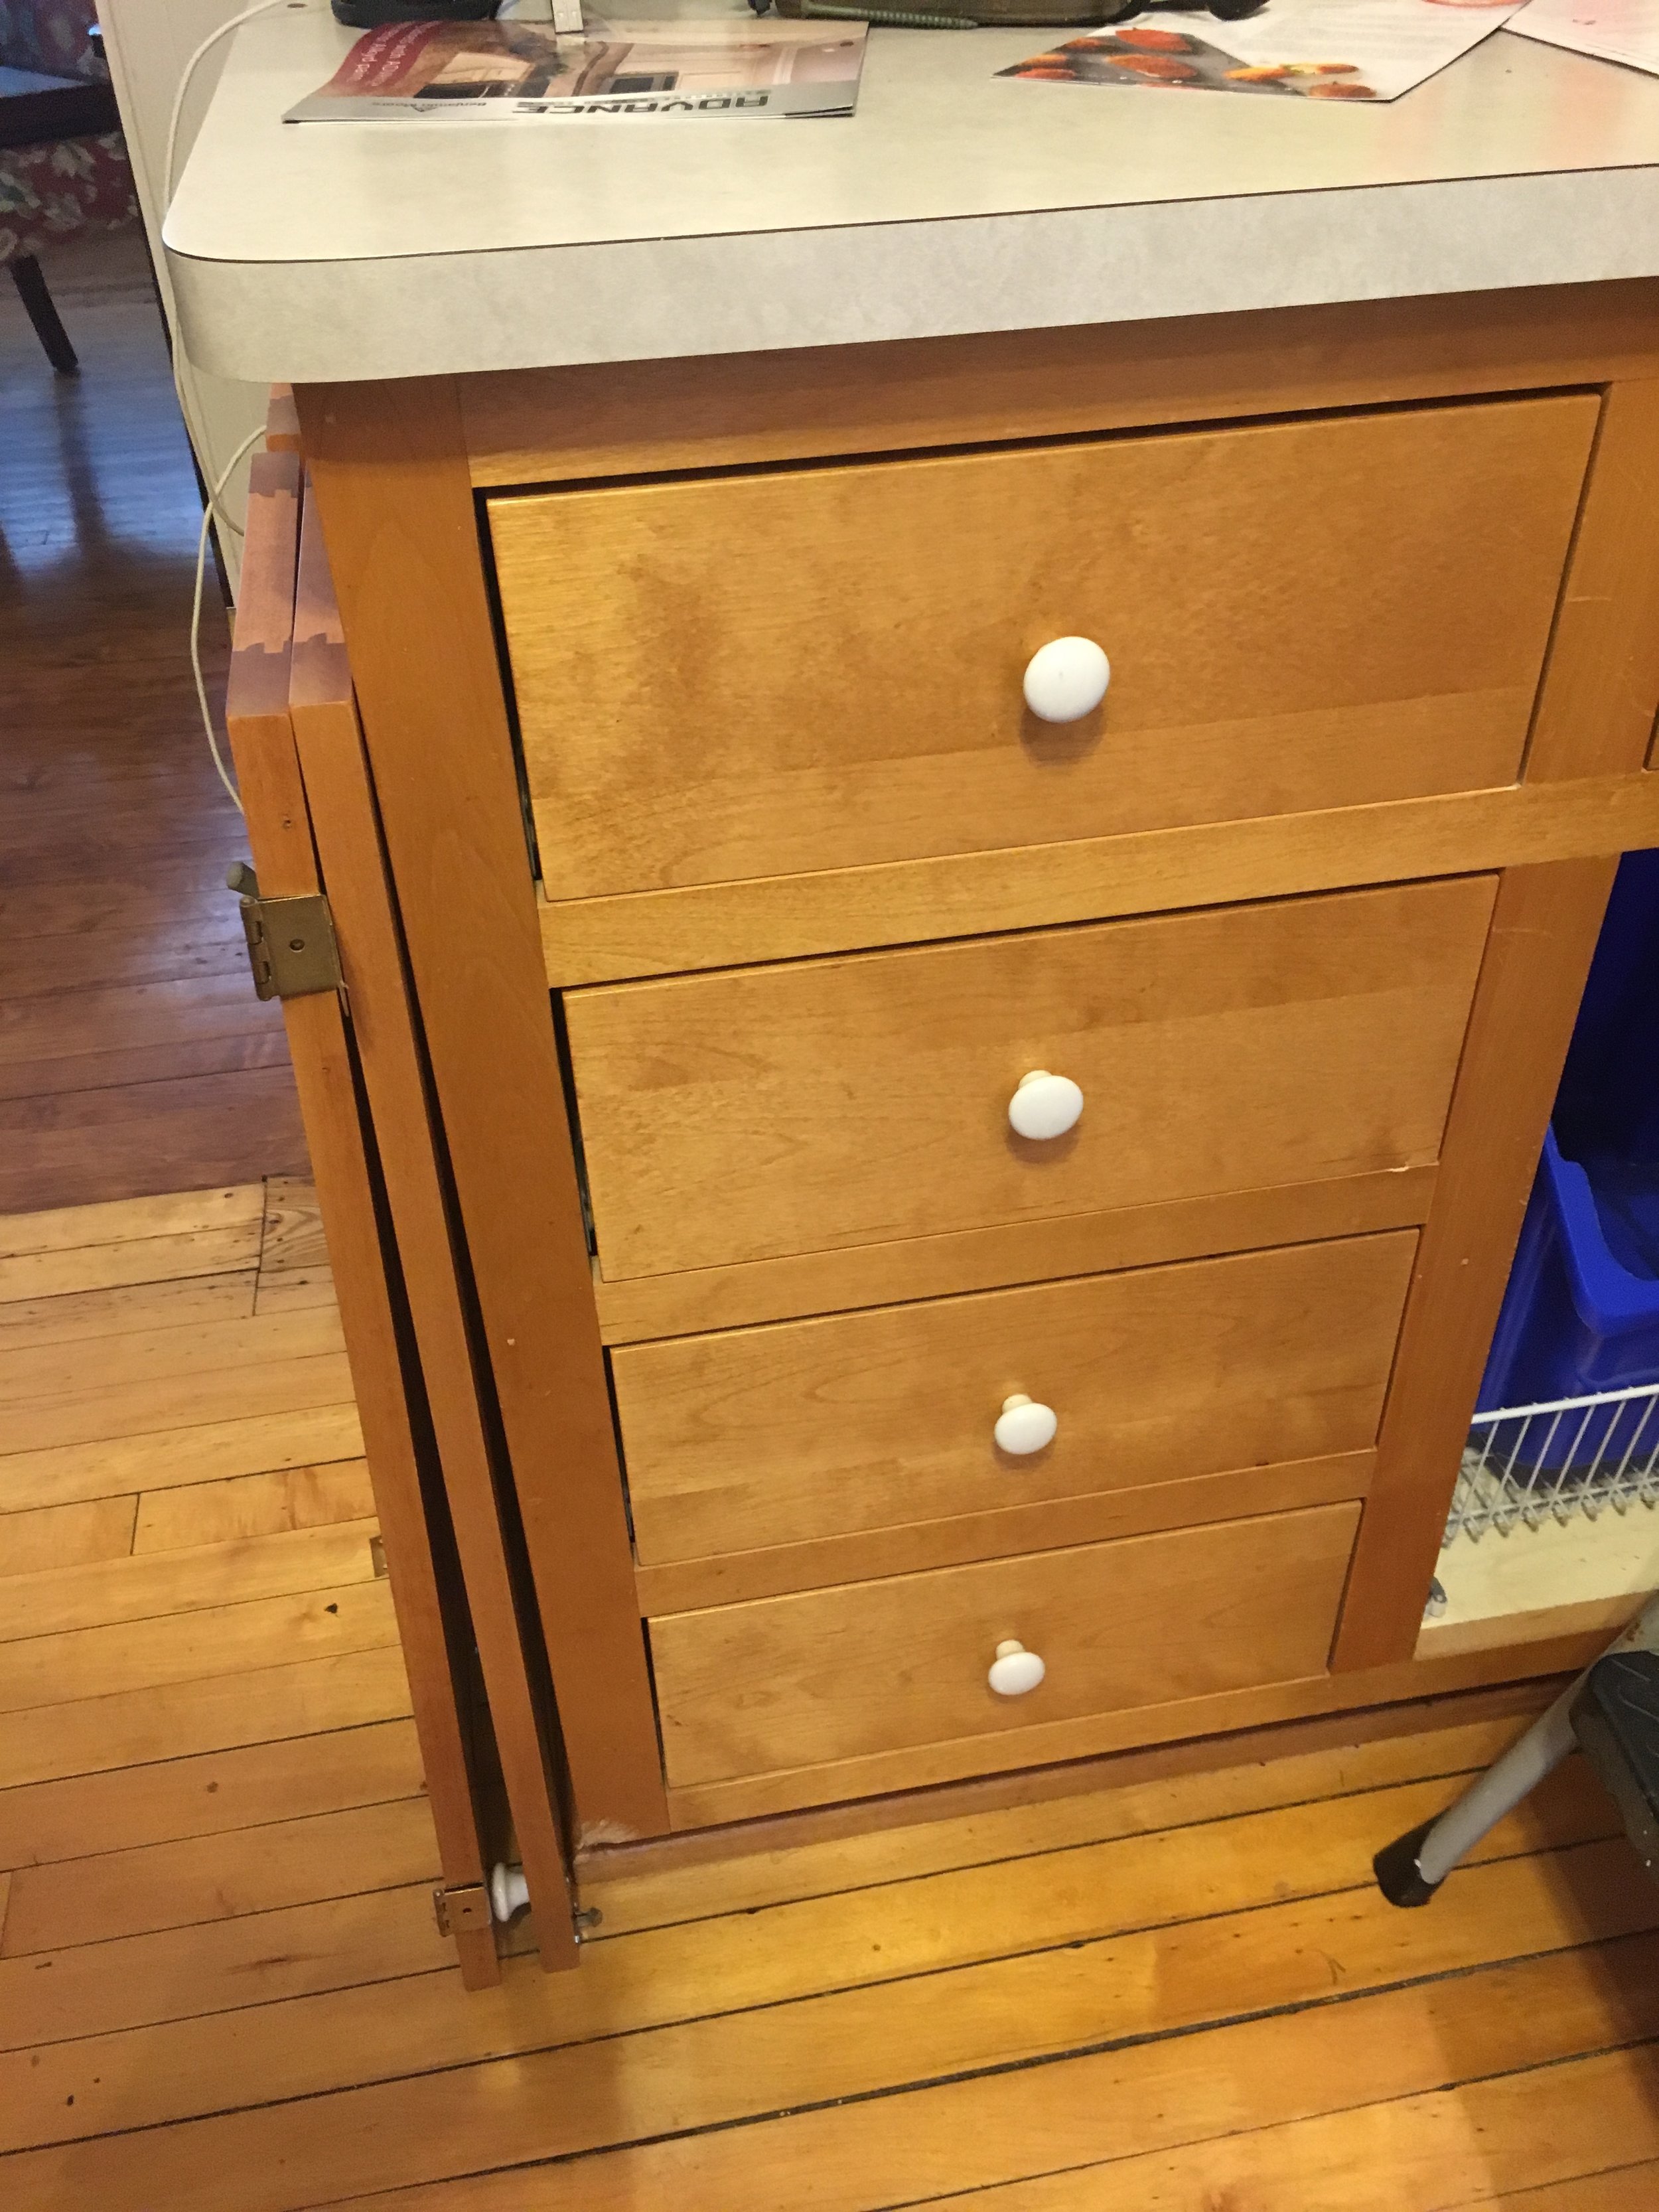
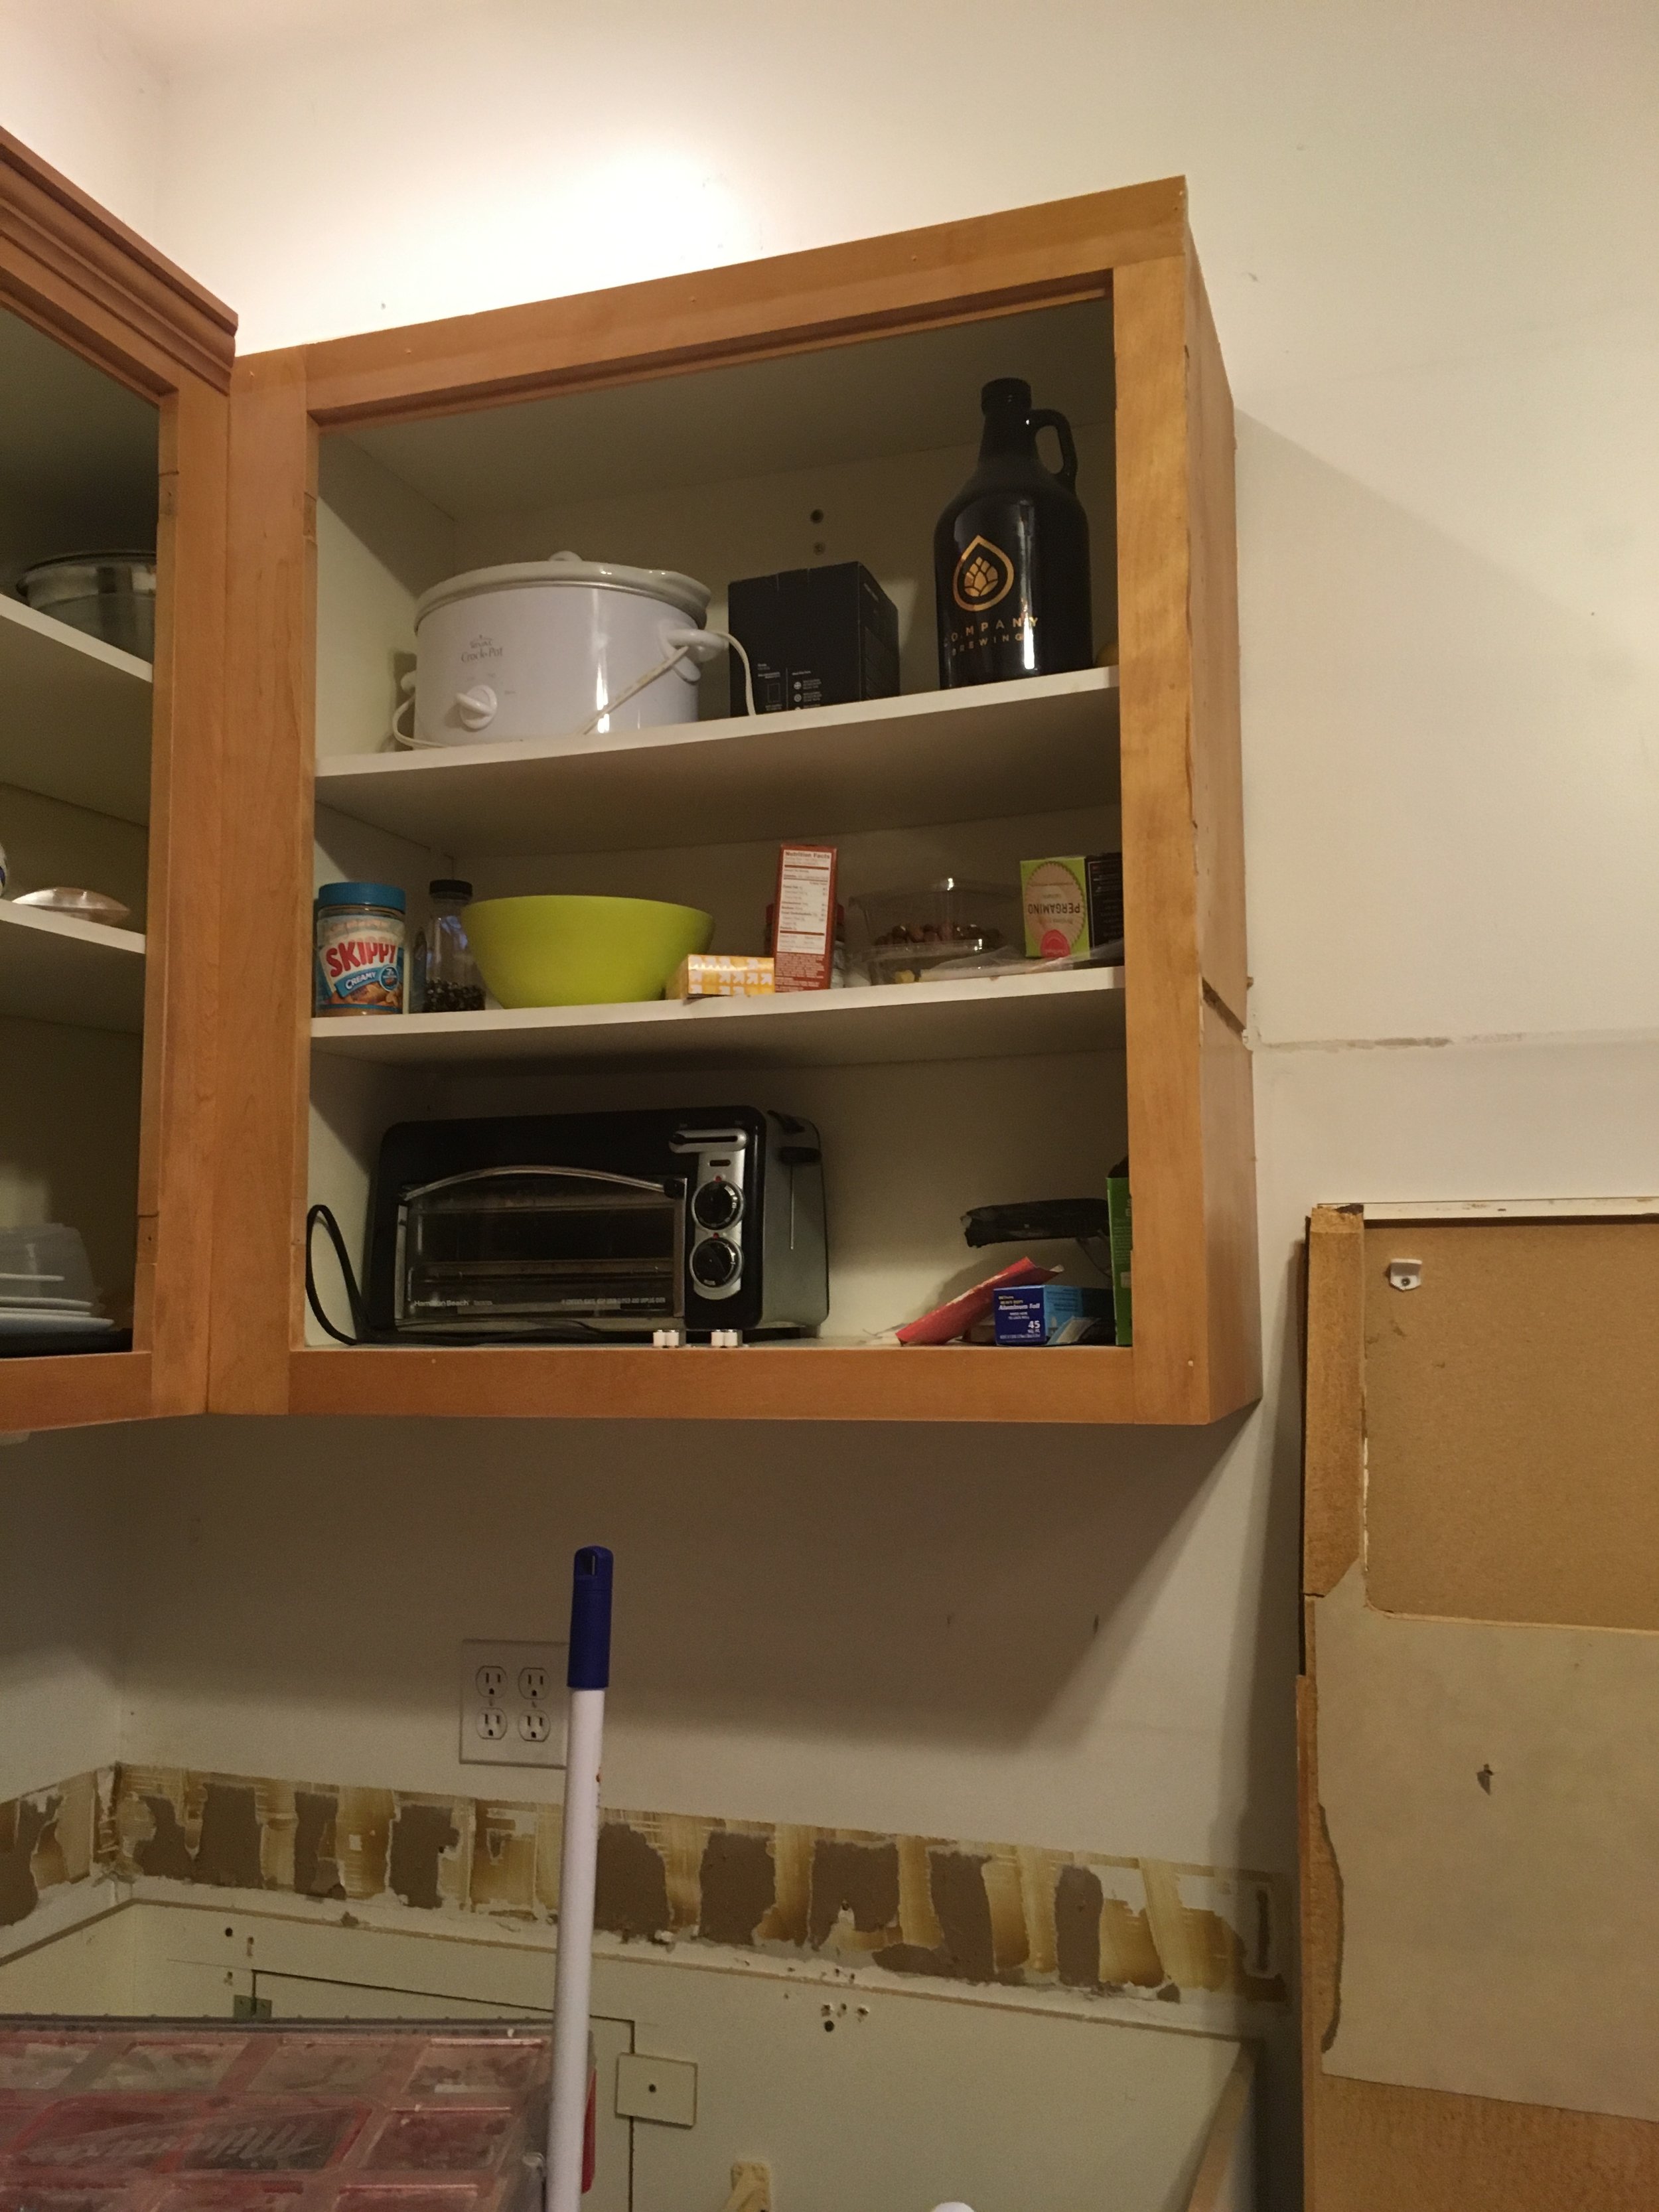
The most time consuming part of this renovation was the cabinets, we decided to strip and repaint our cabinets because they were in fact good quality and a good style and also because new cabinets are incredibly expensive. Our cabinets had a slightly out of date look, but we had a plan! This involved removing all doors, deep cleaning, sanding, vacuuming, cleaning, priming, sanding, vacuuming, cleaning, painting and then sanding, vacuuming, cleaning and painting again. I think you get the idea of how terribly tedious and time consuming this was, not to mention removing everything from the drawers and cabinets and having things in general disarray.
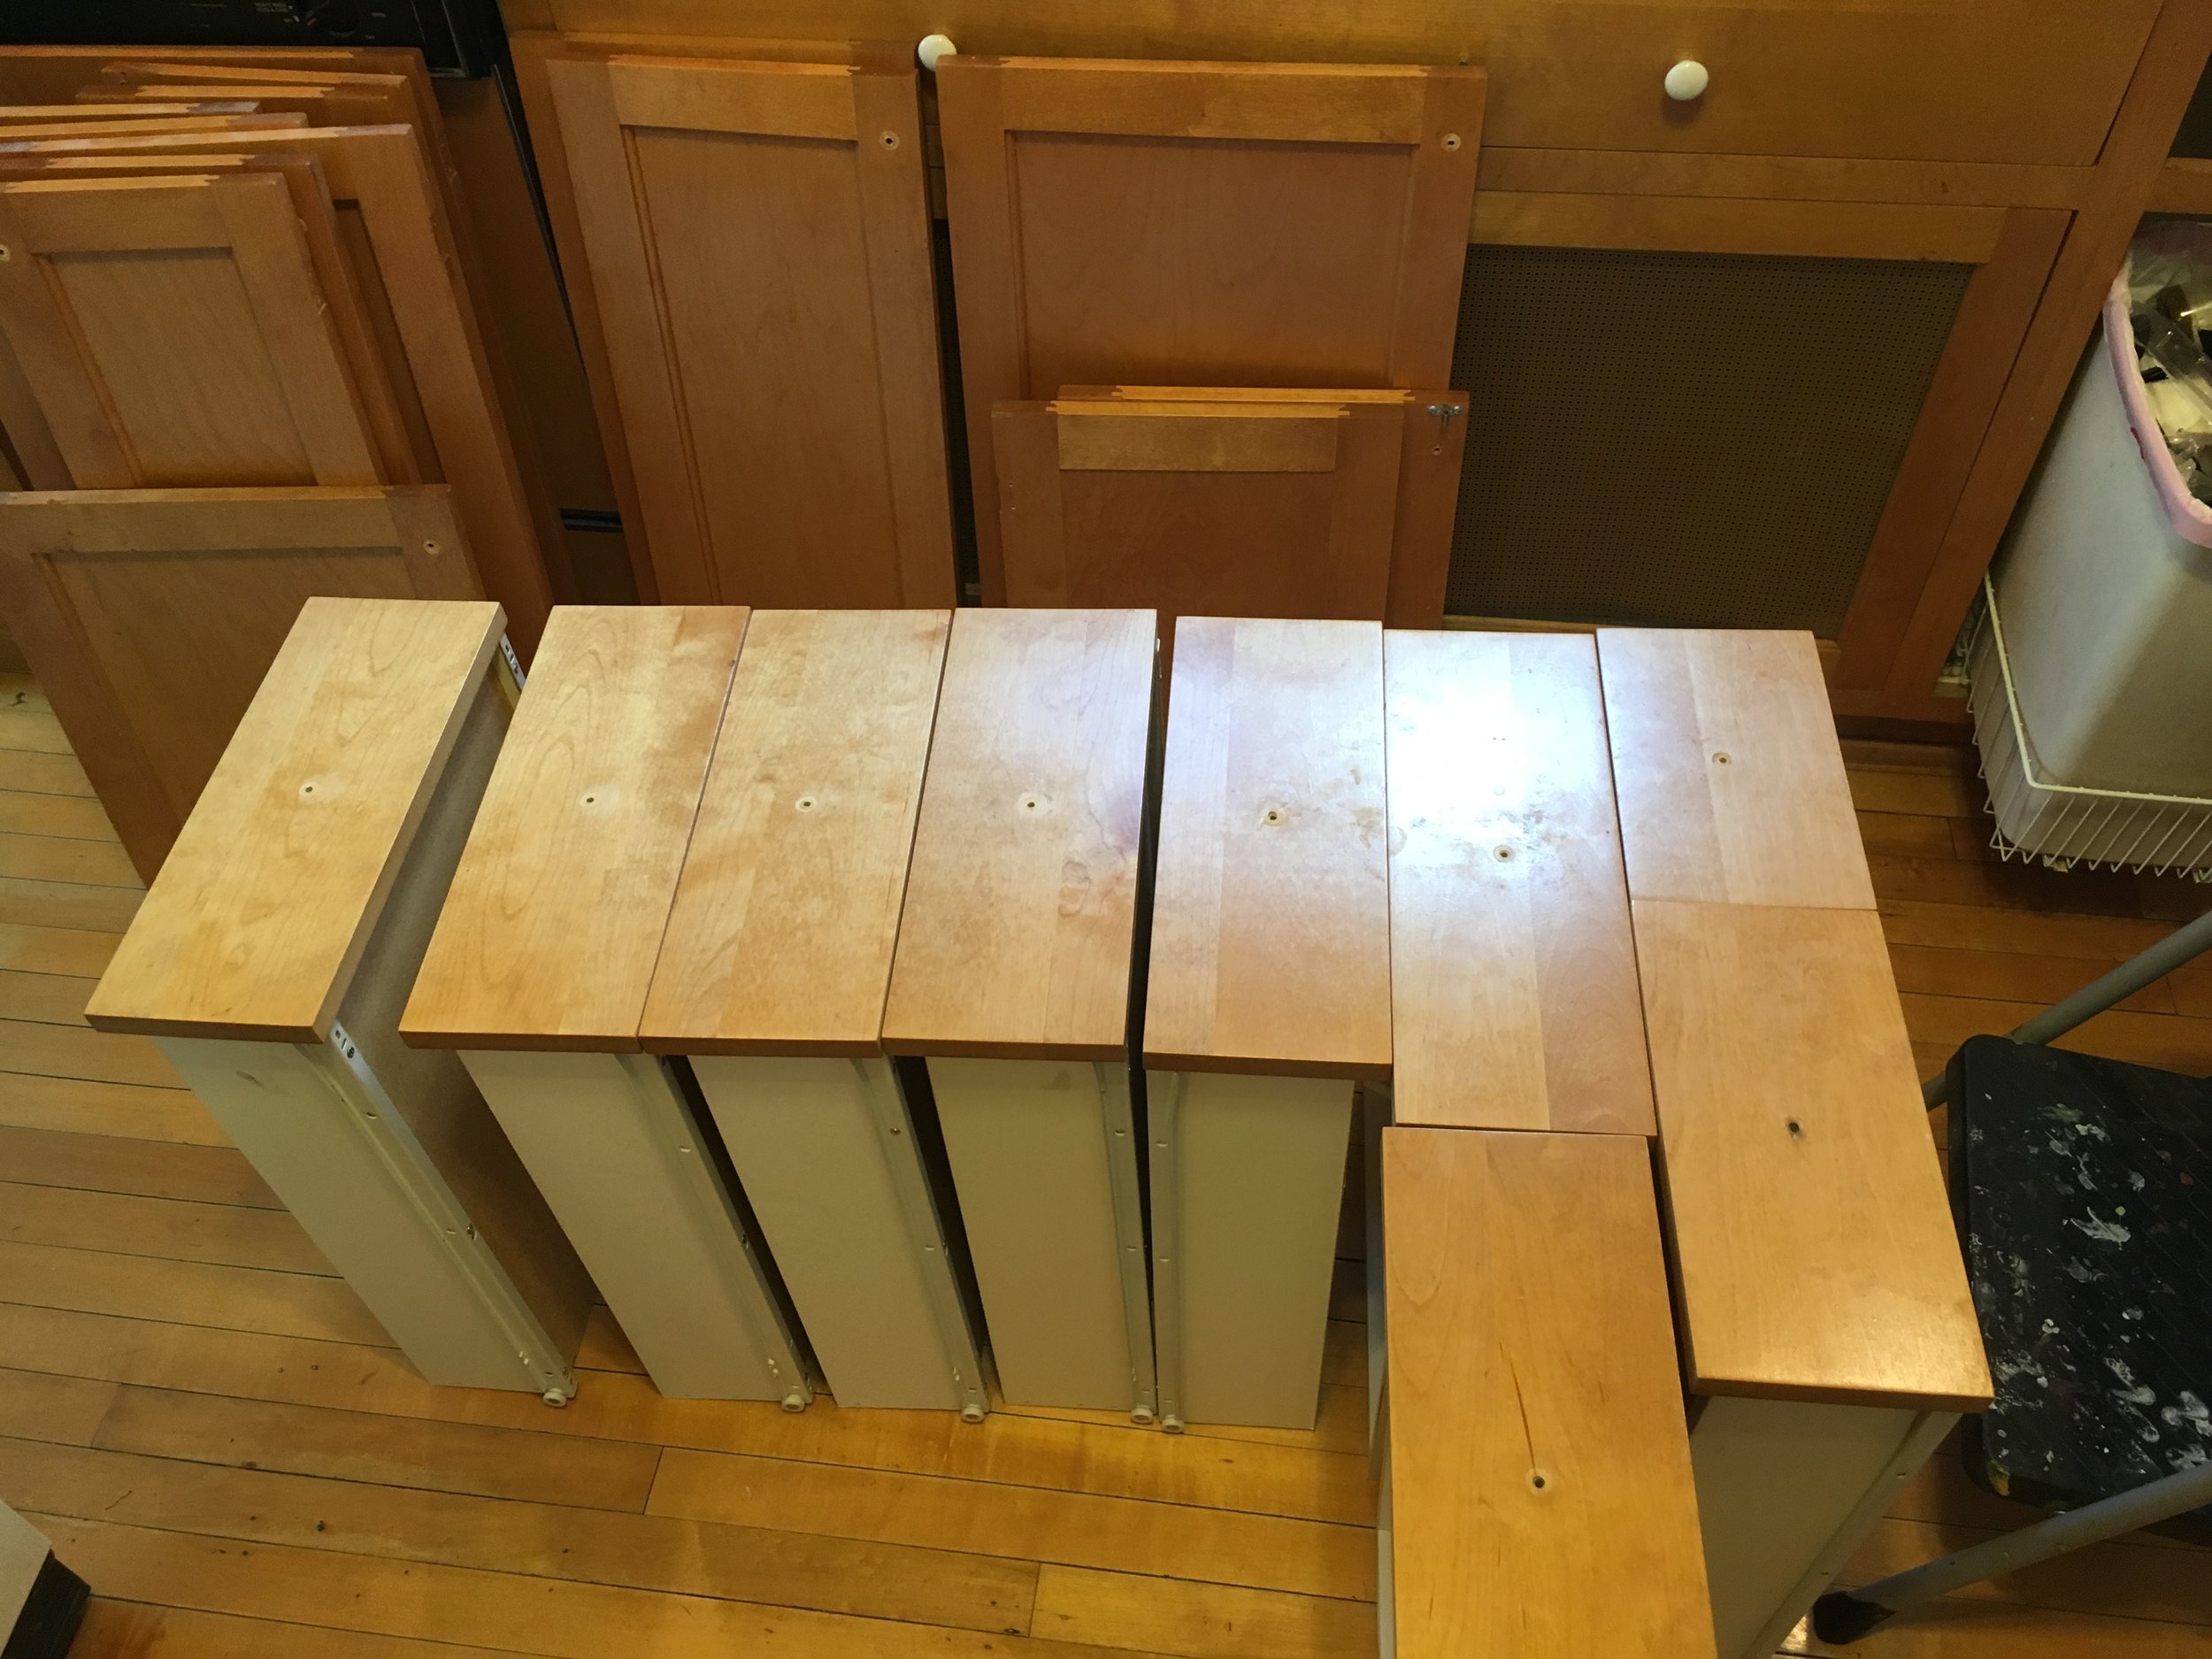
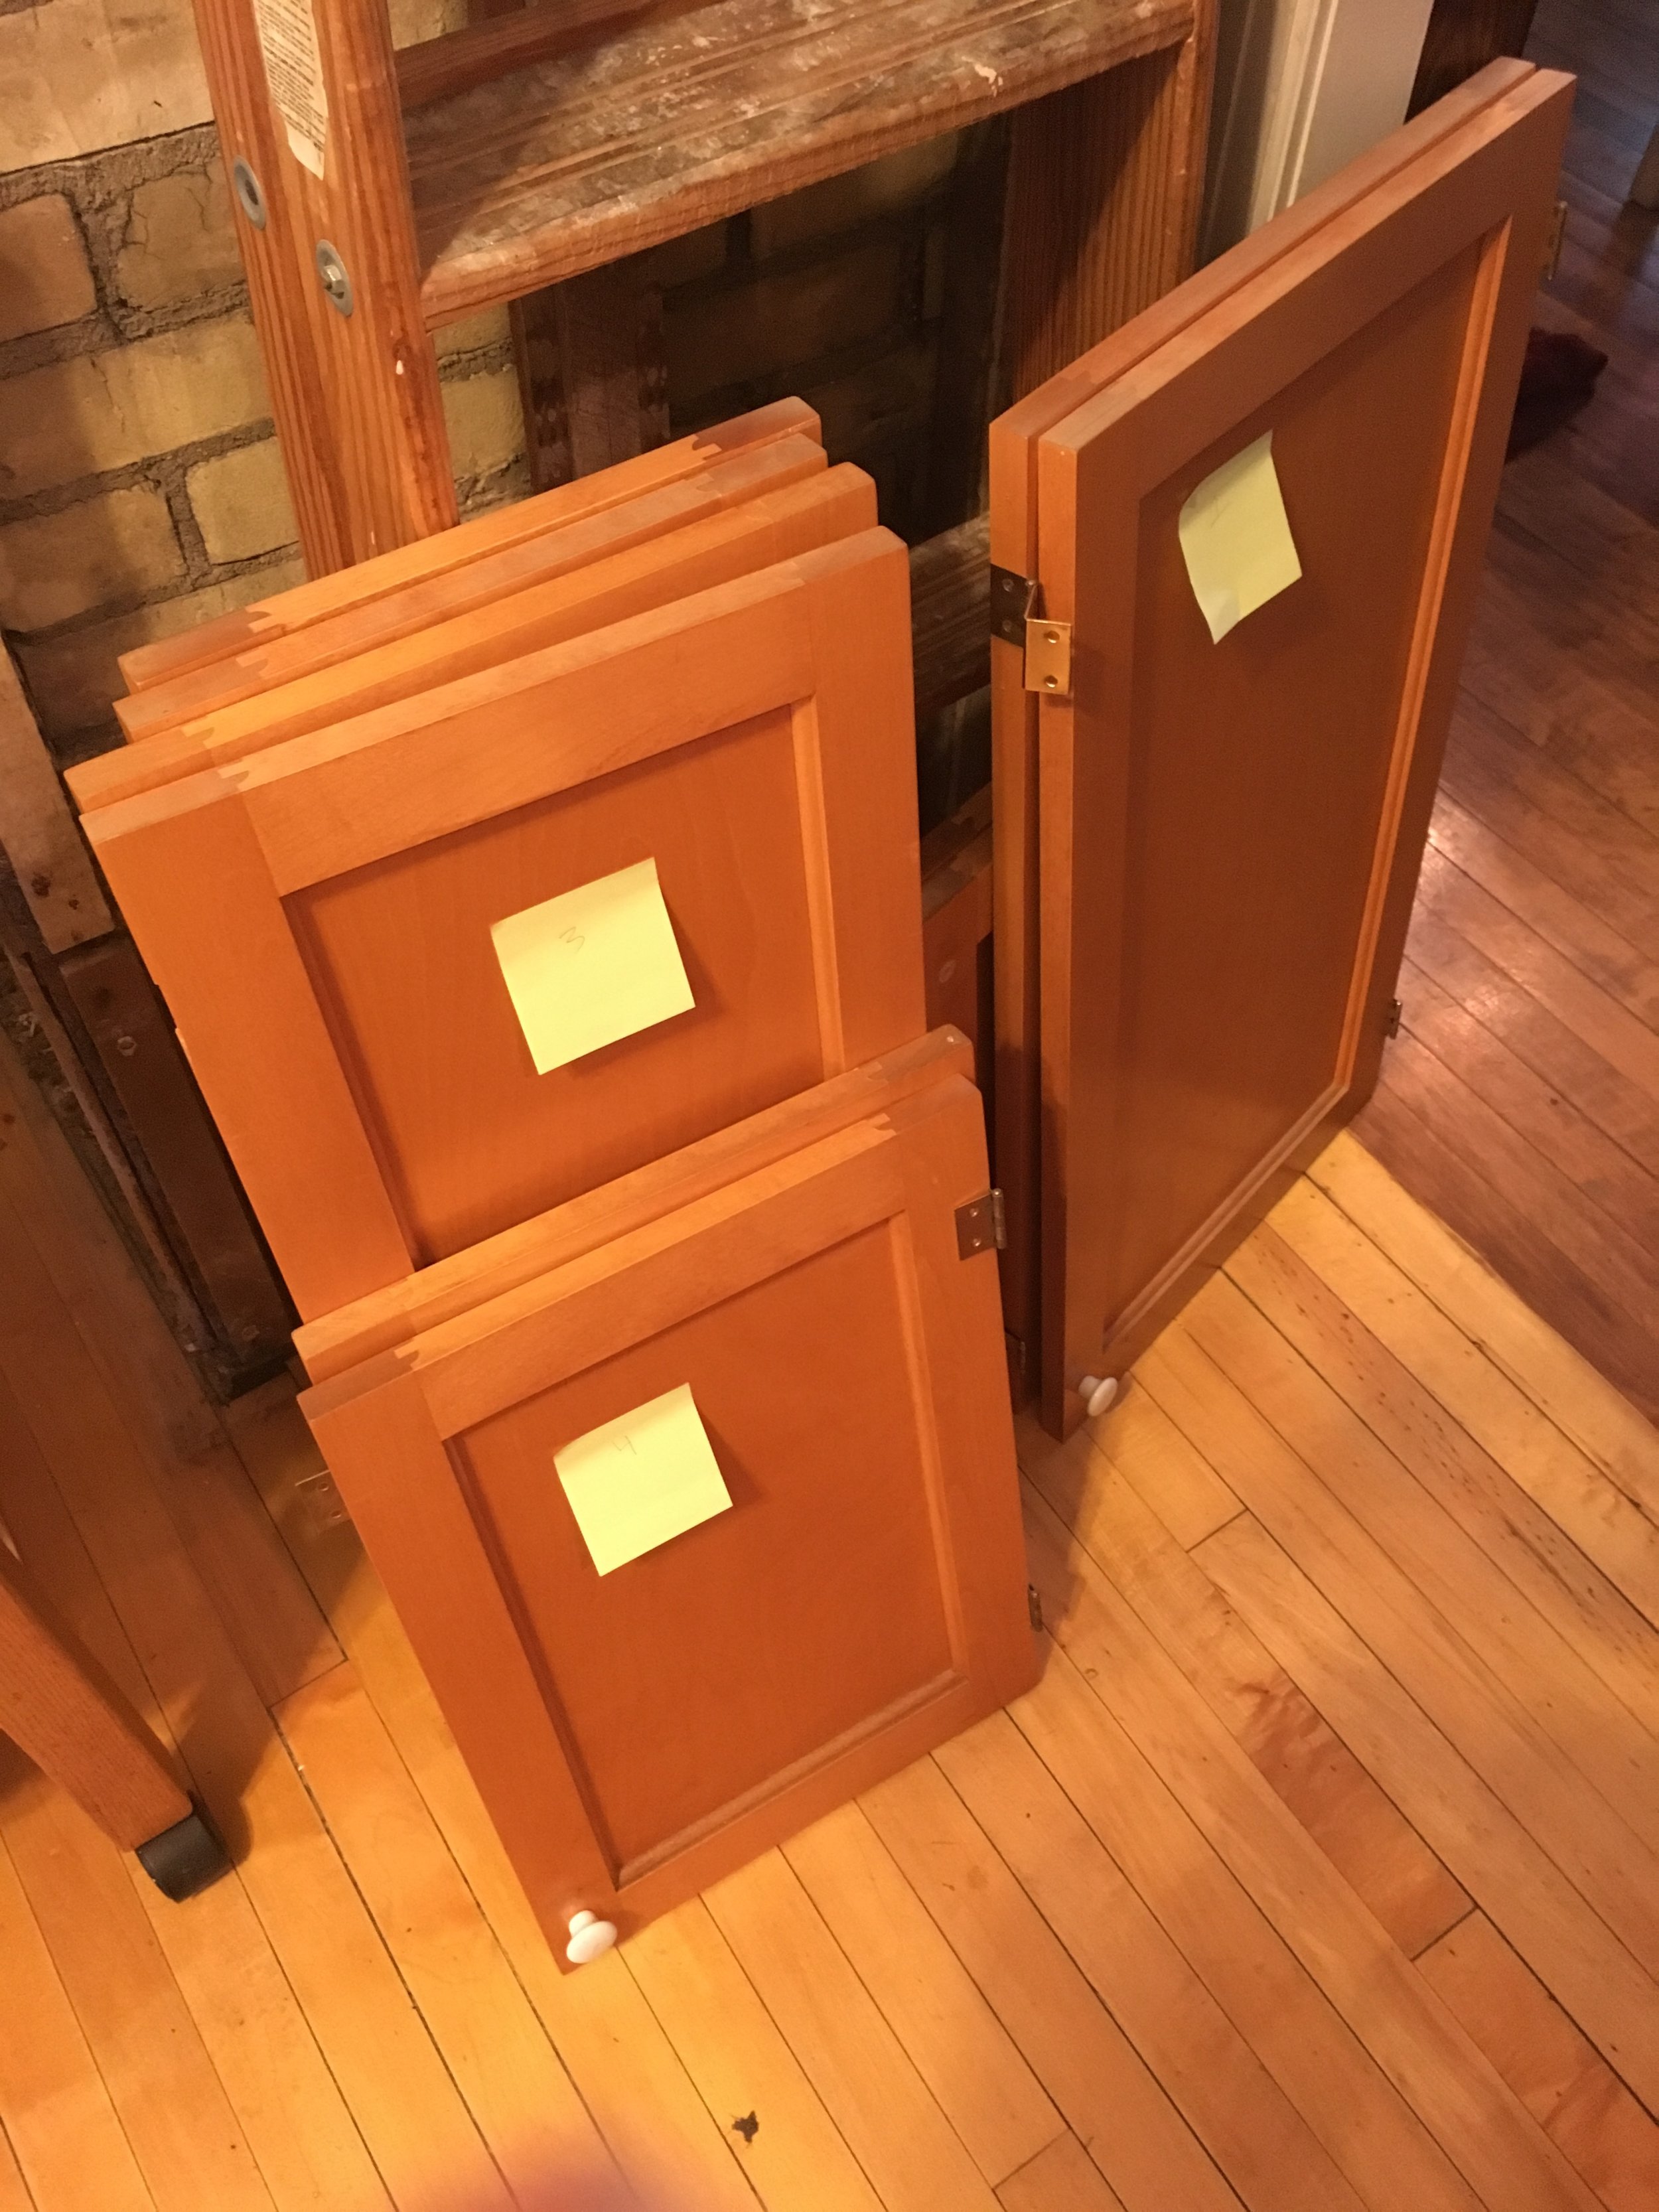
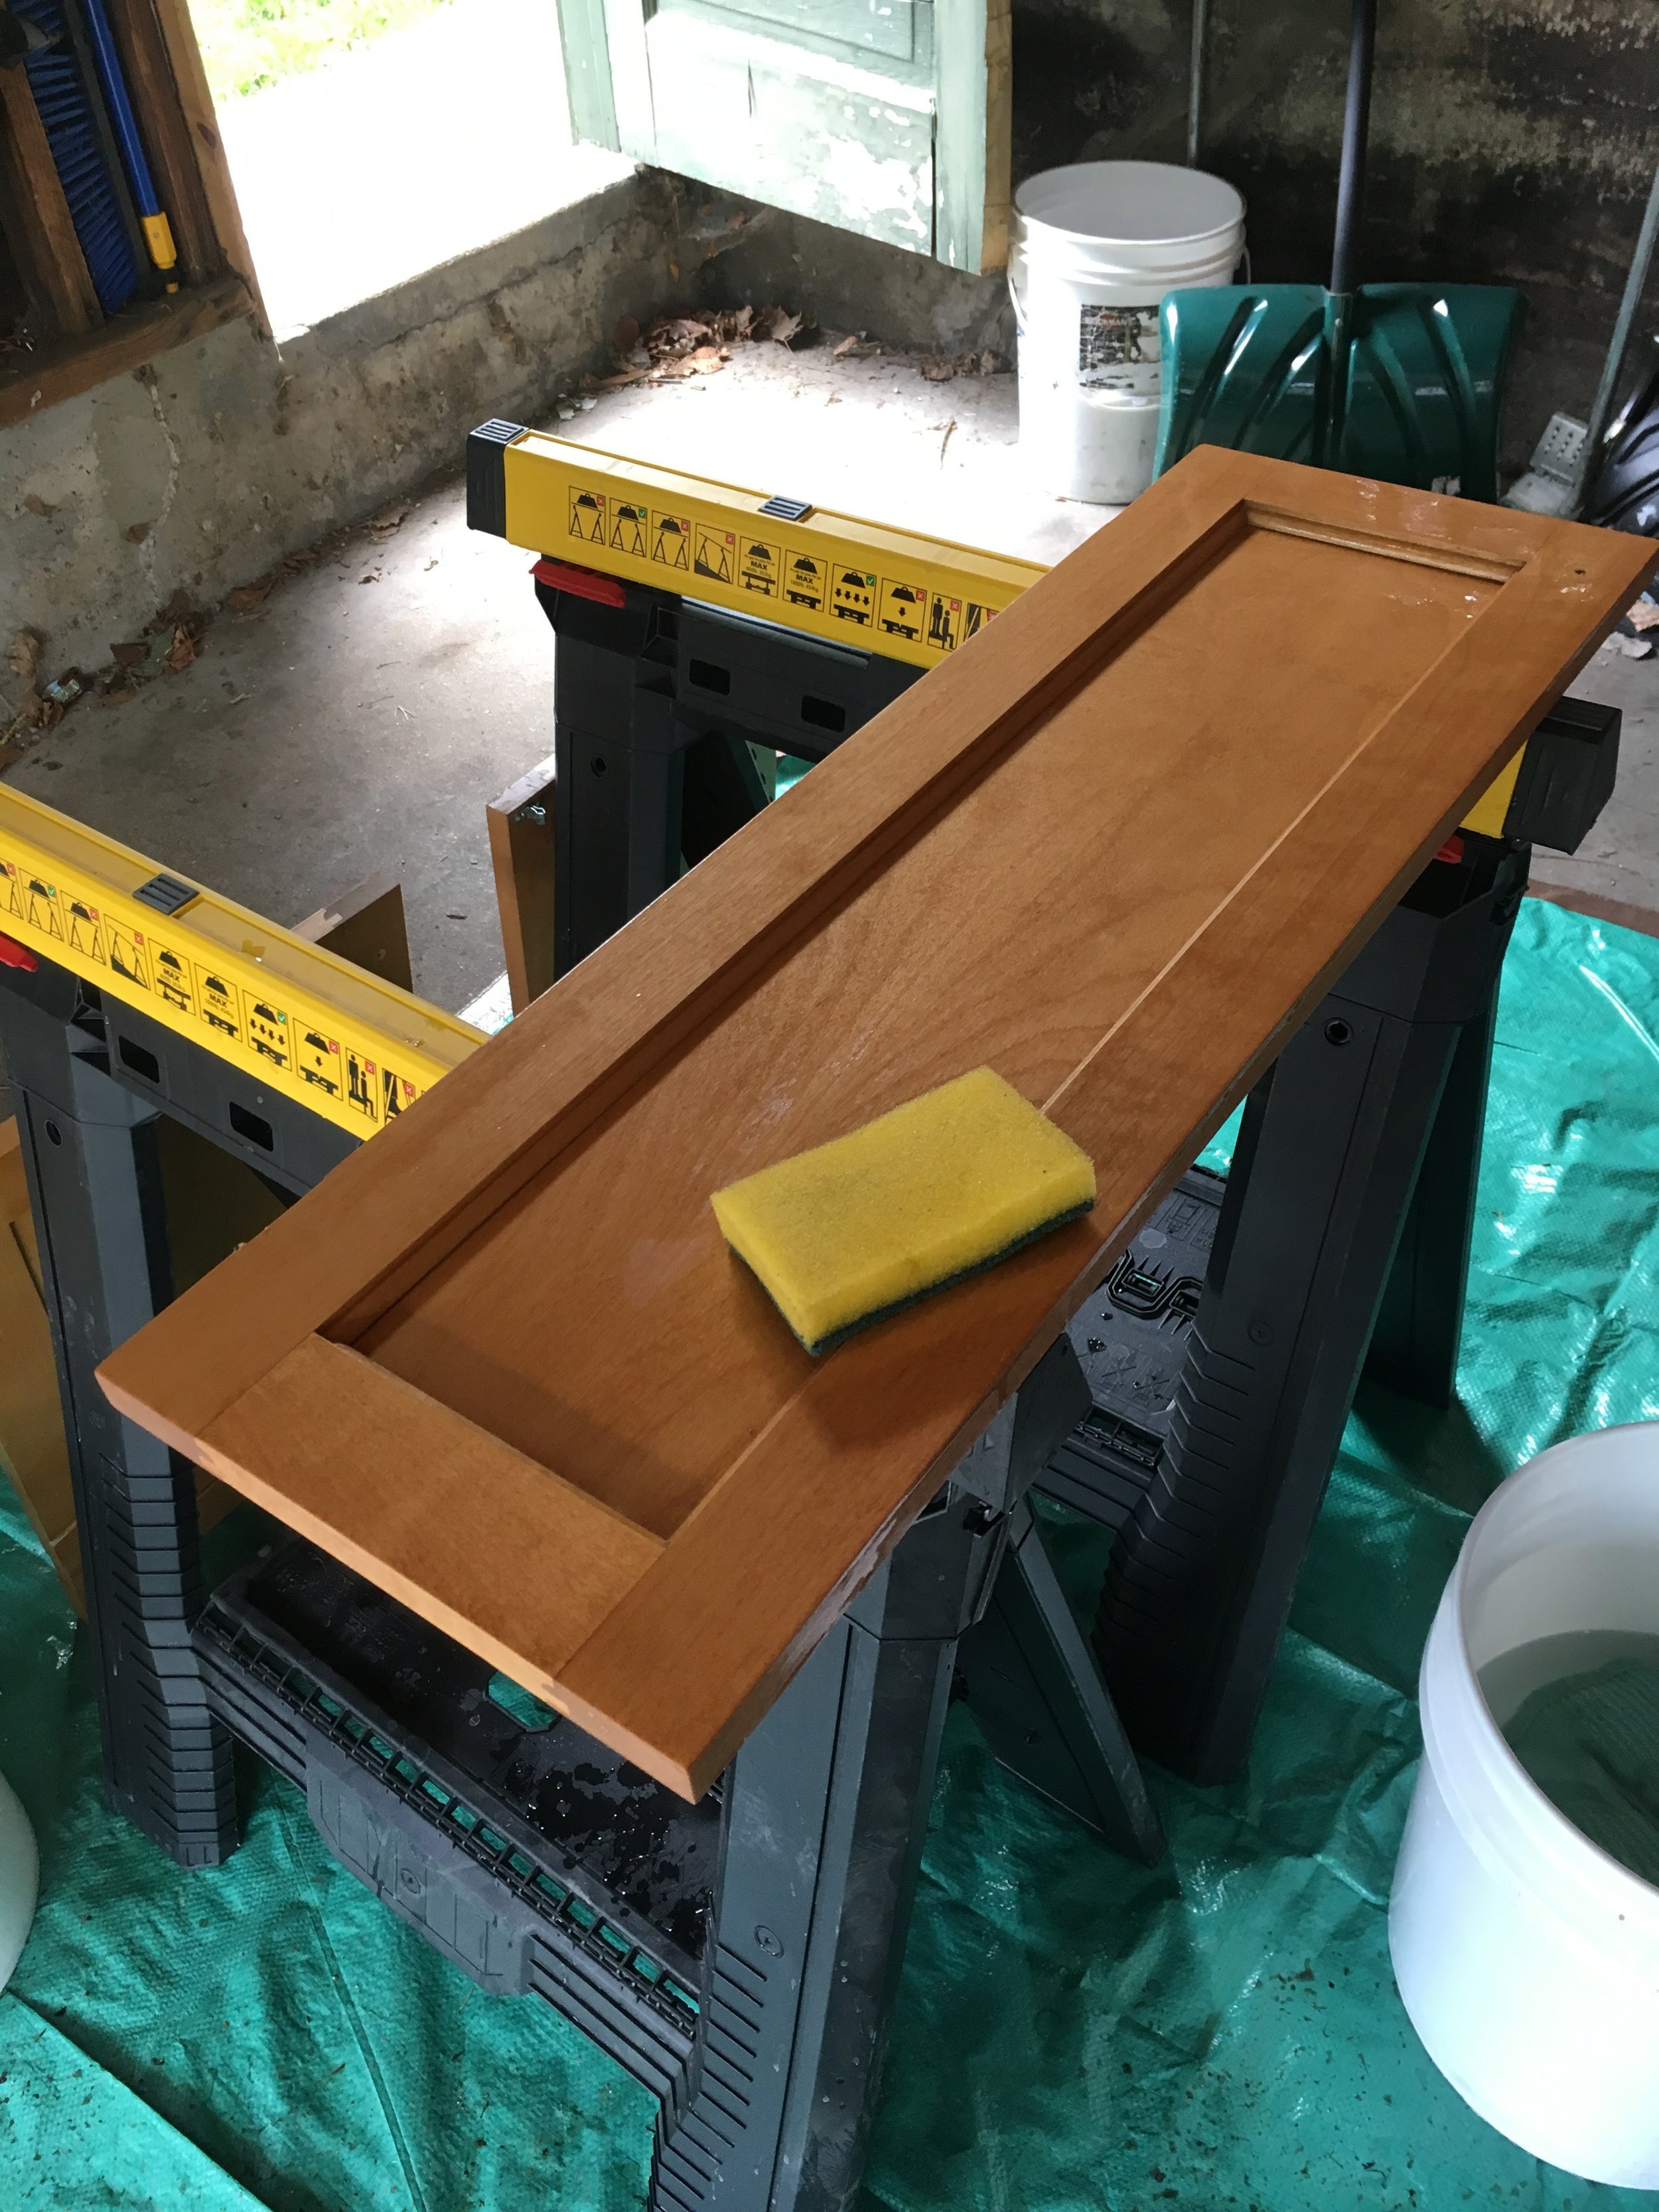
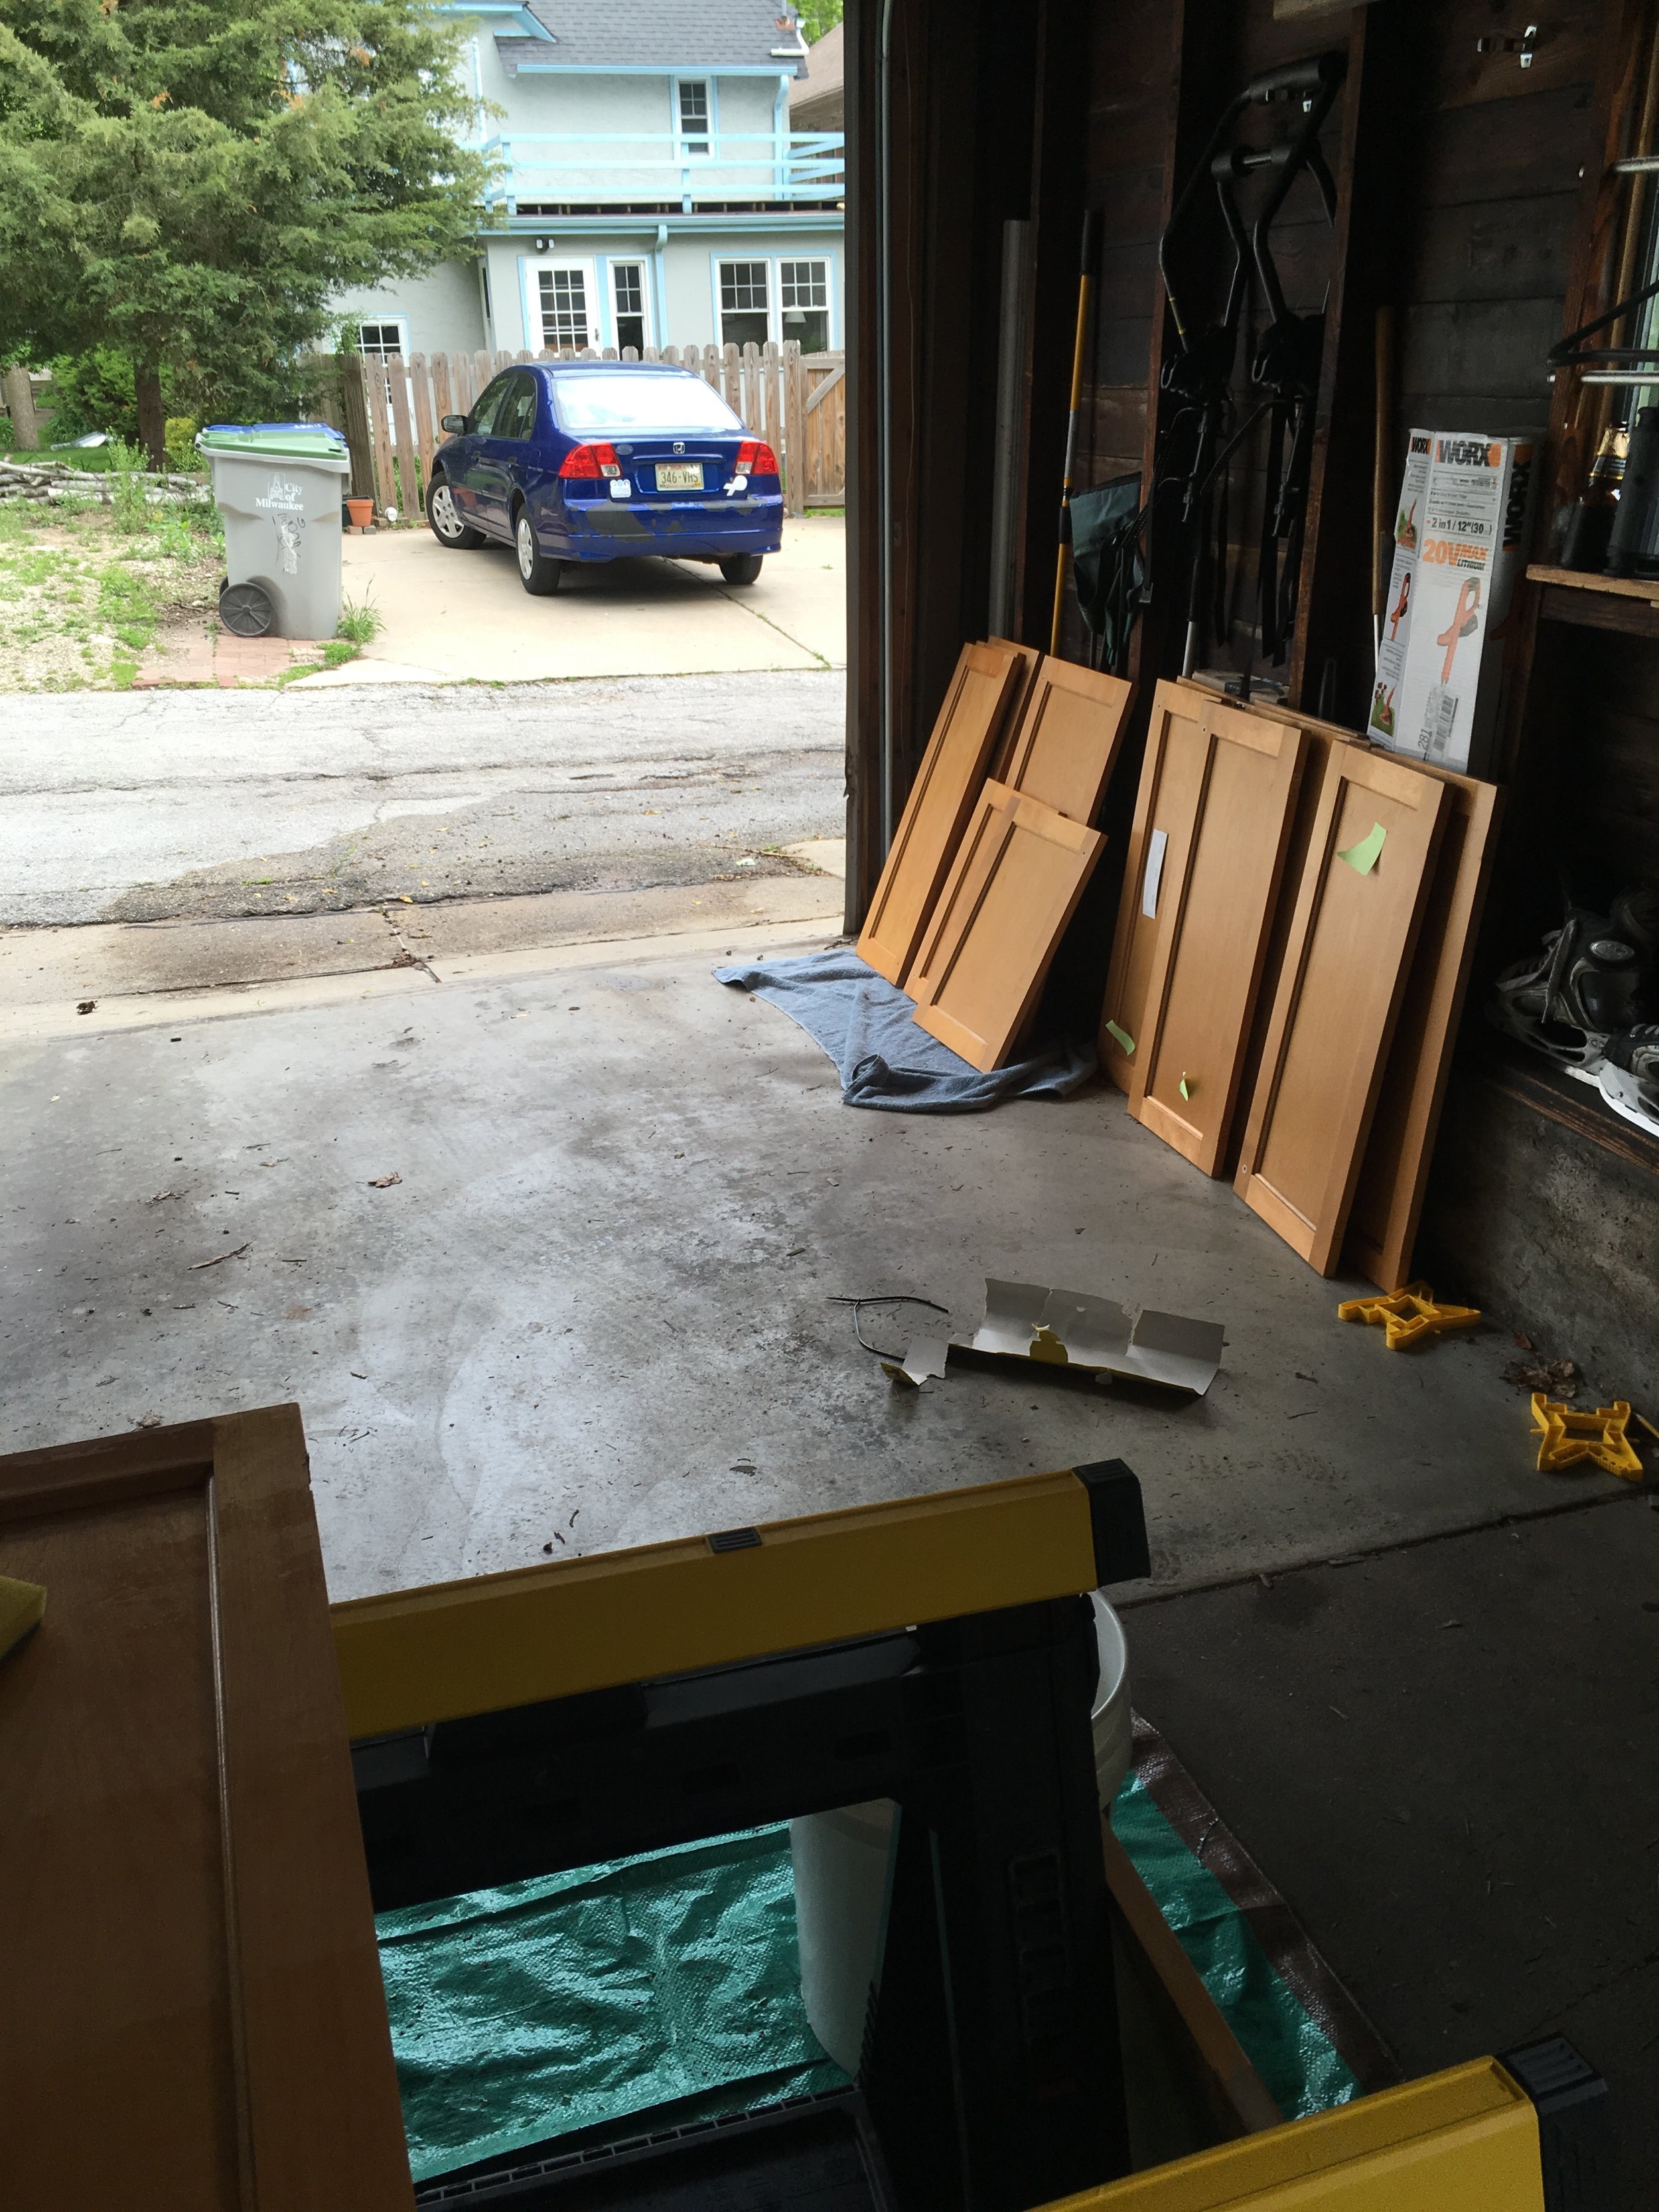
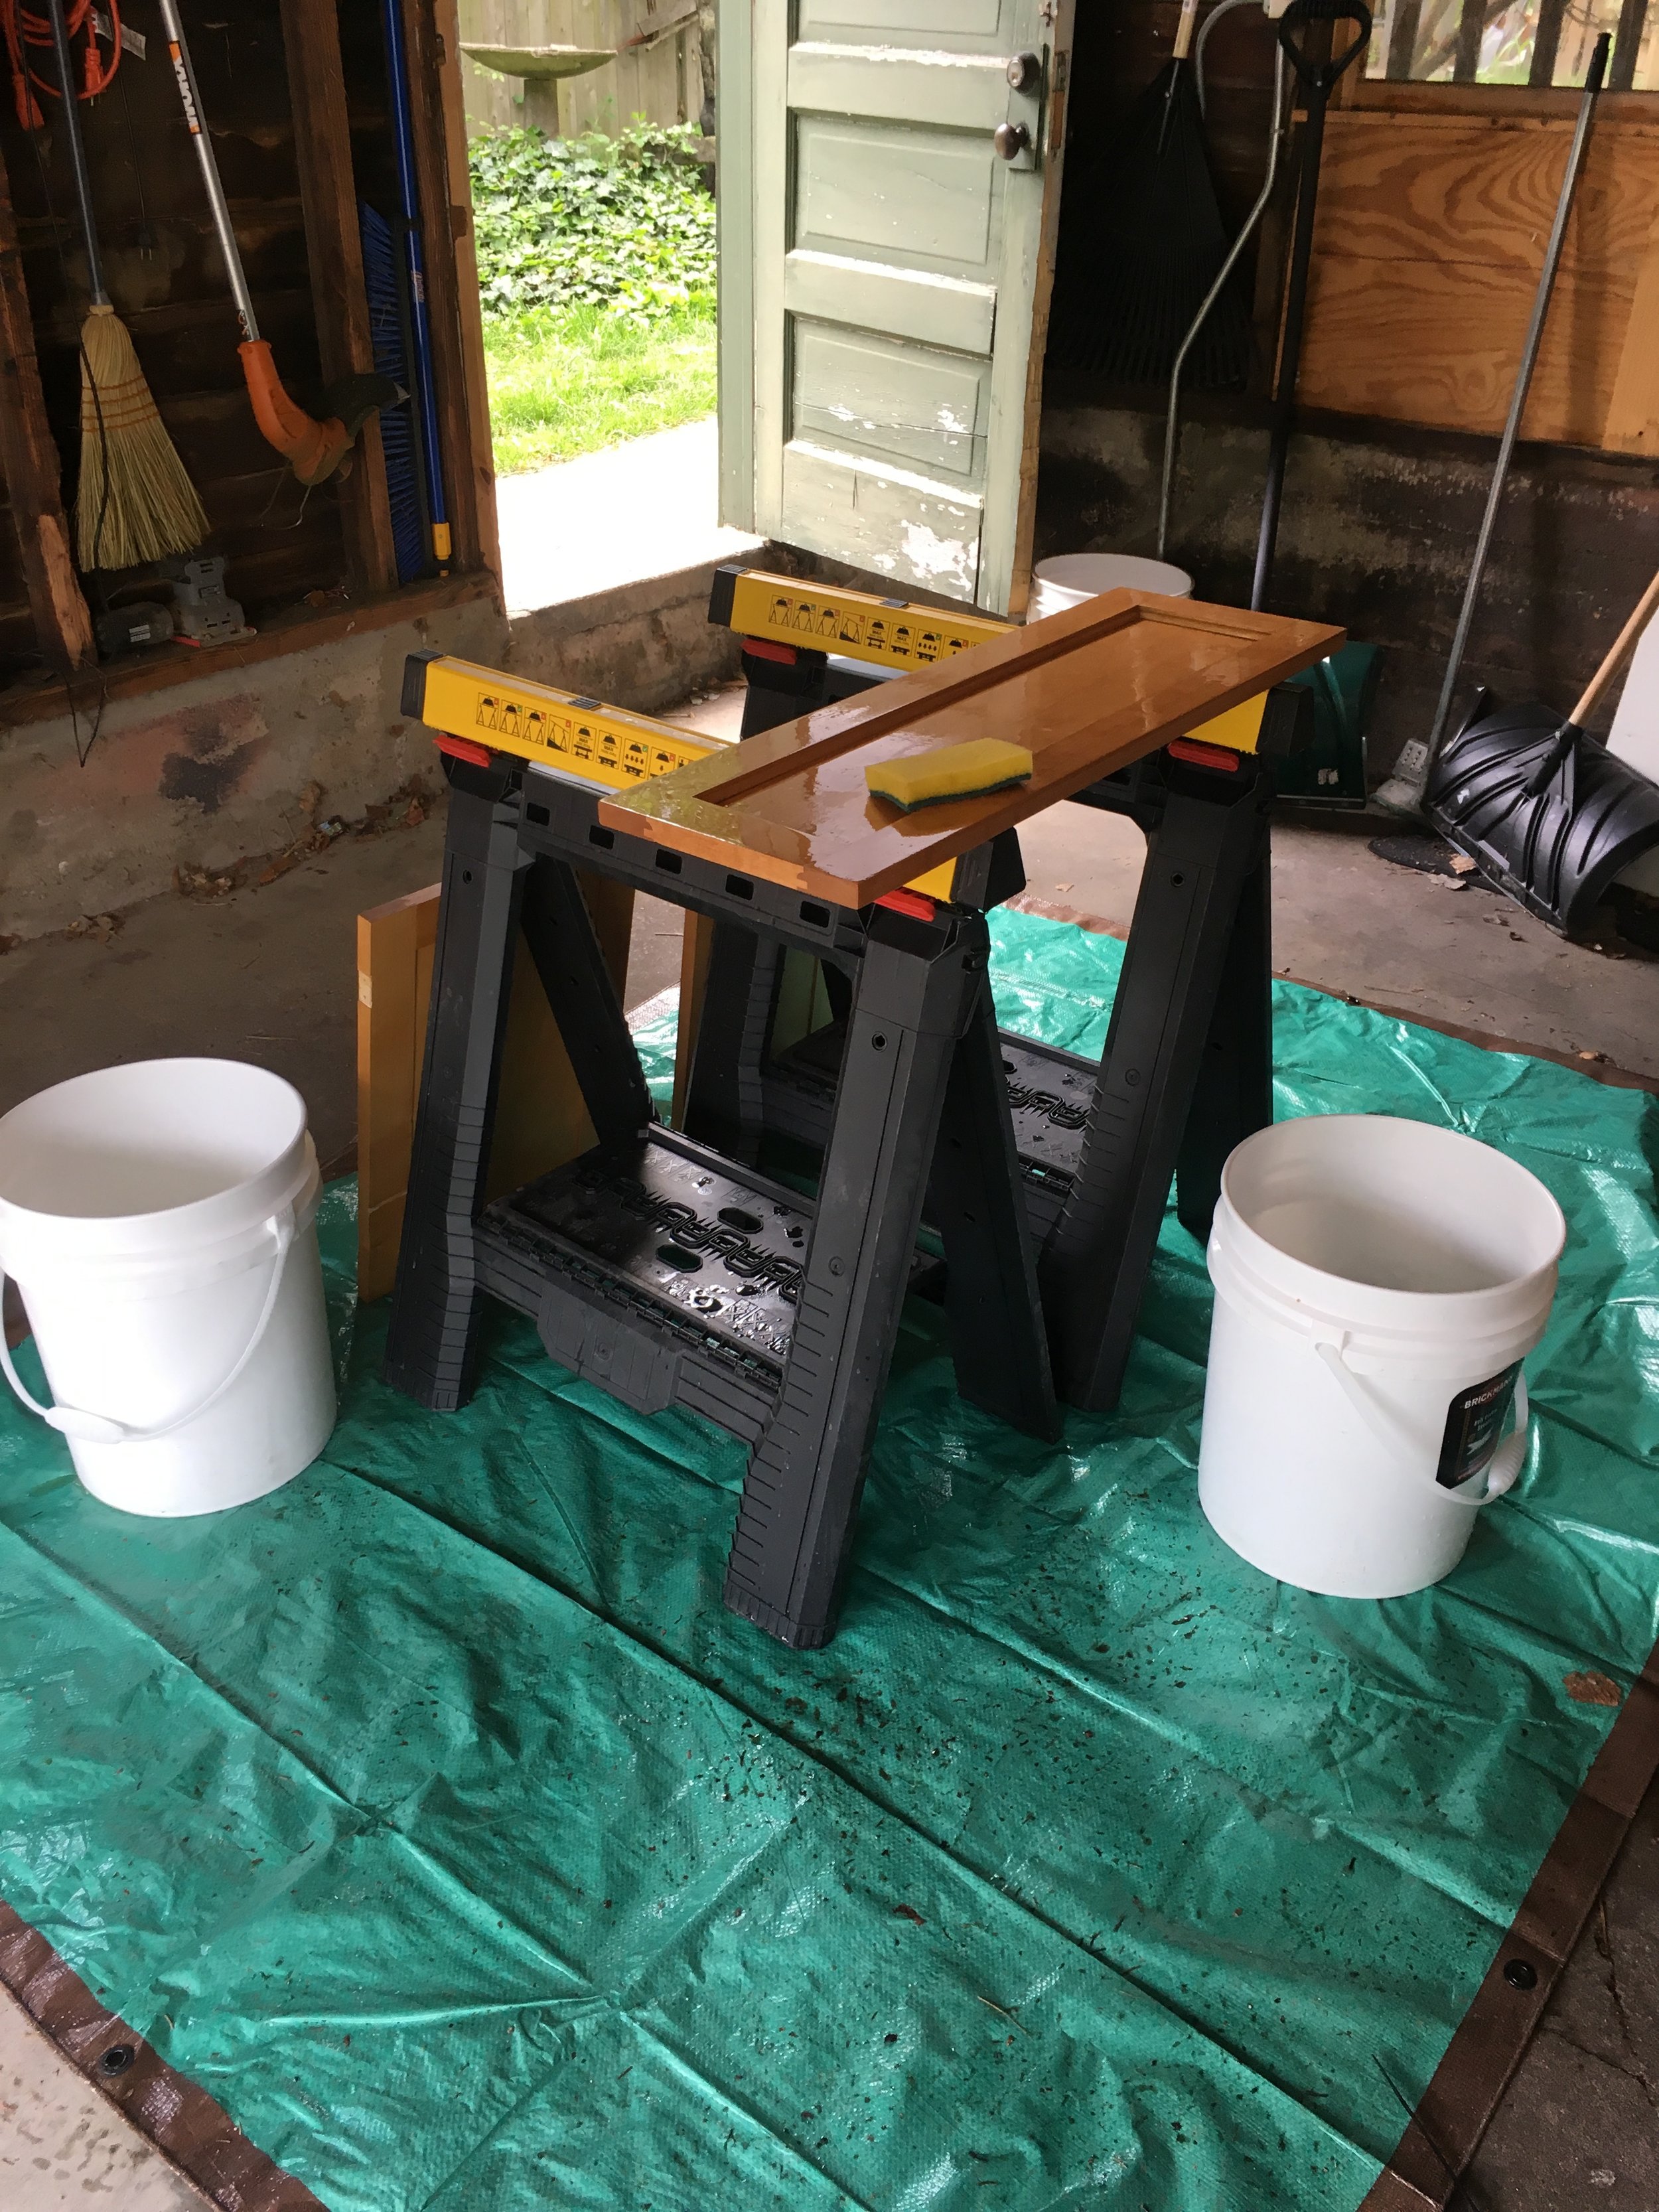
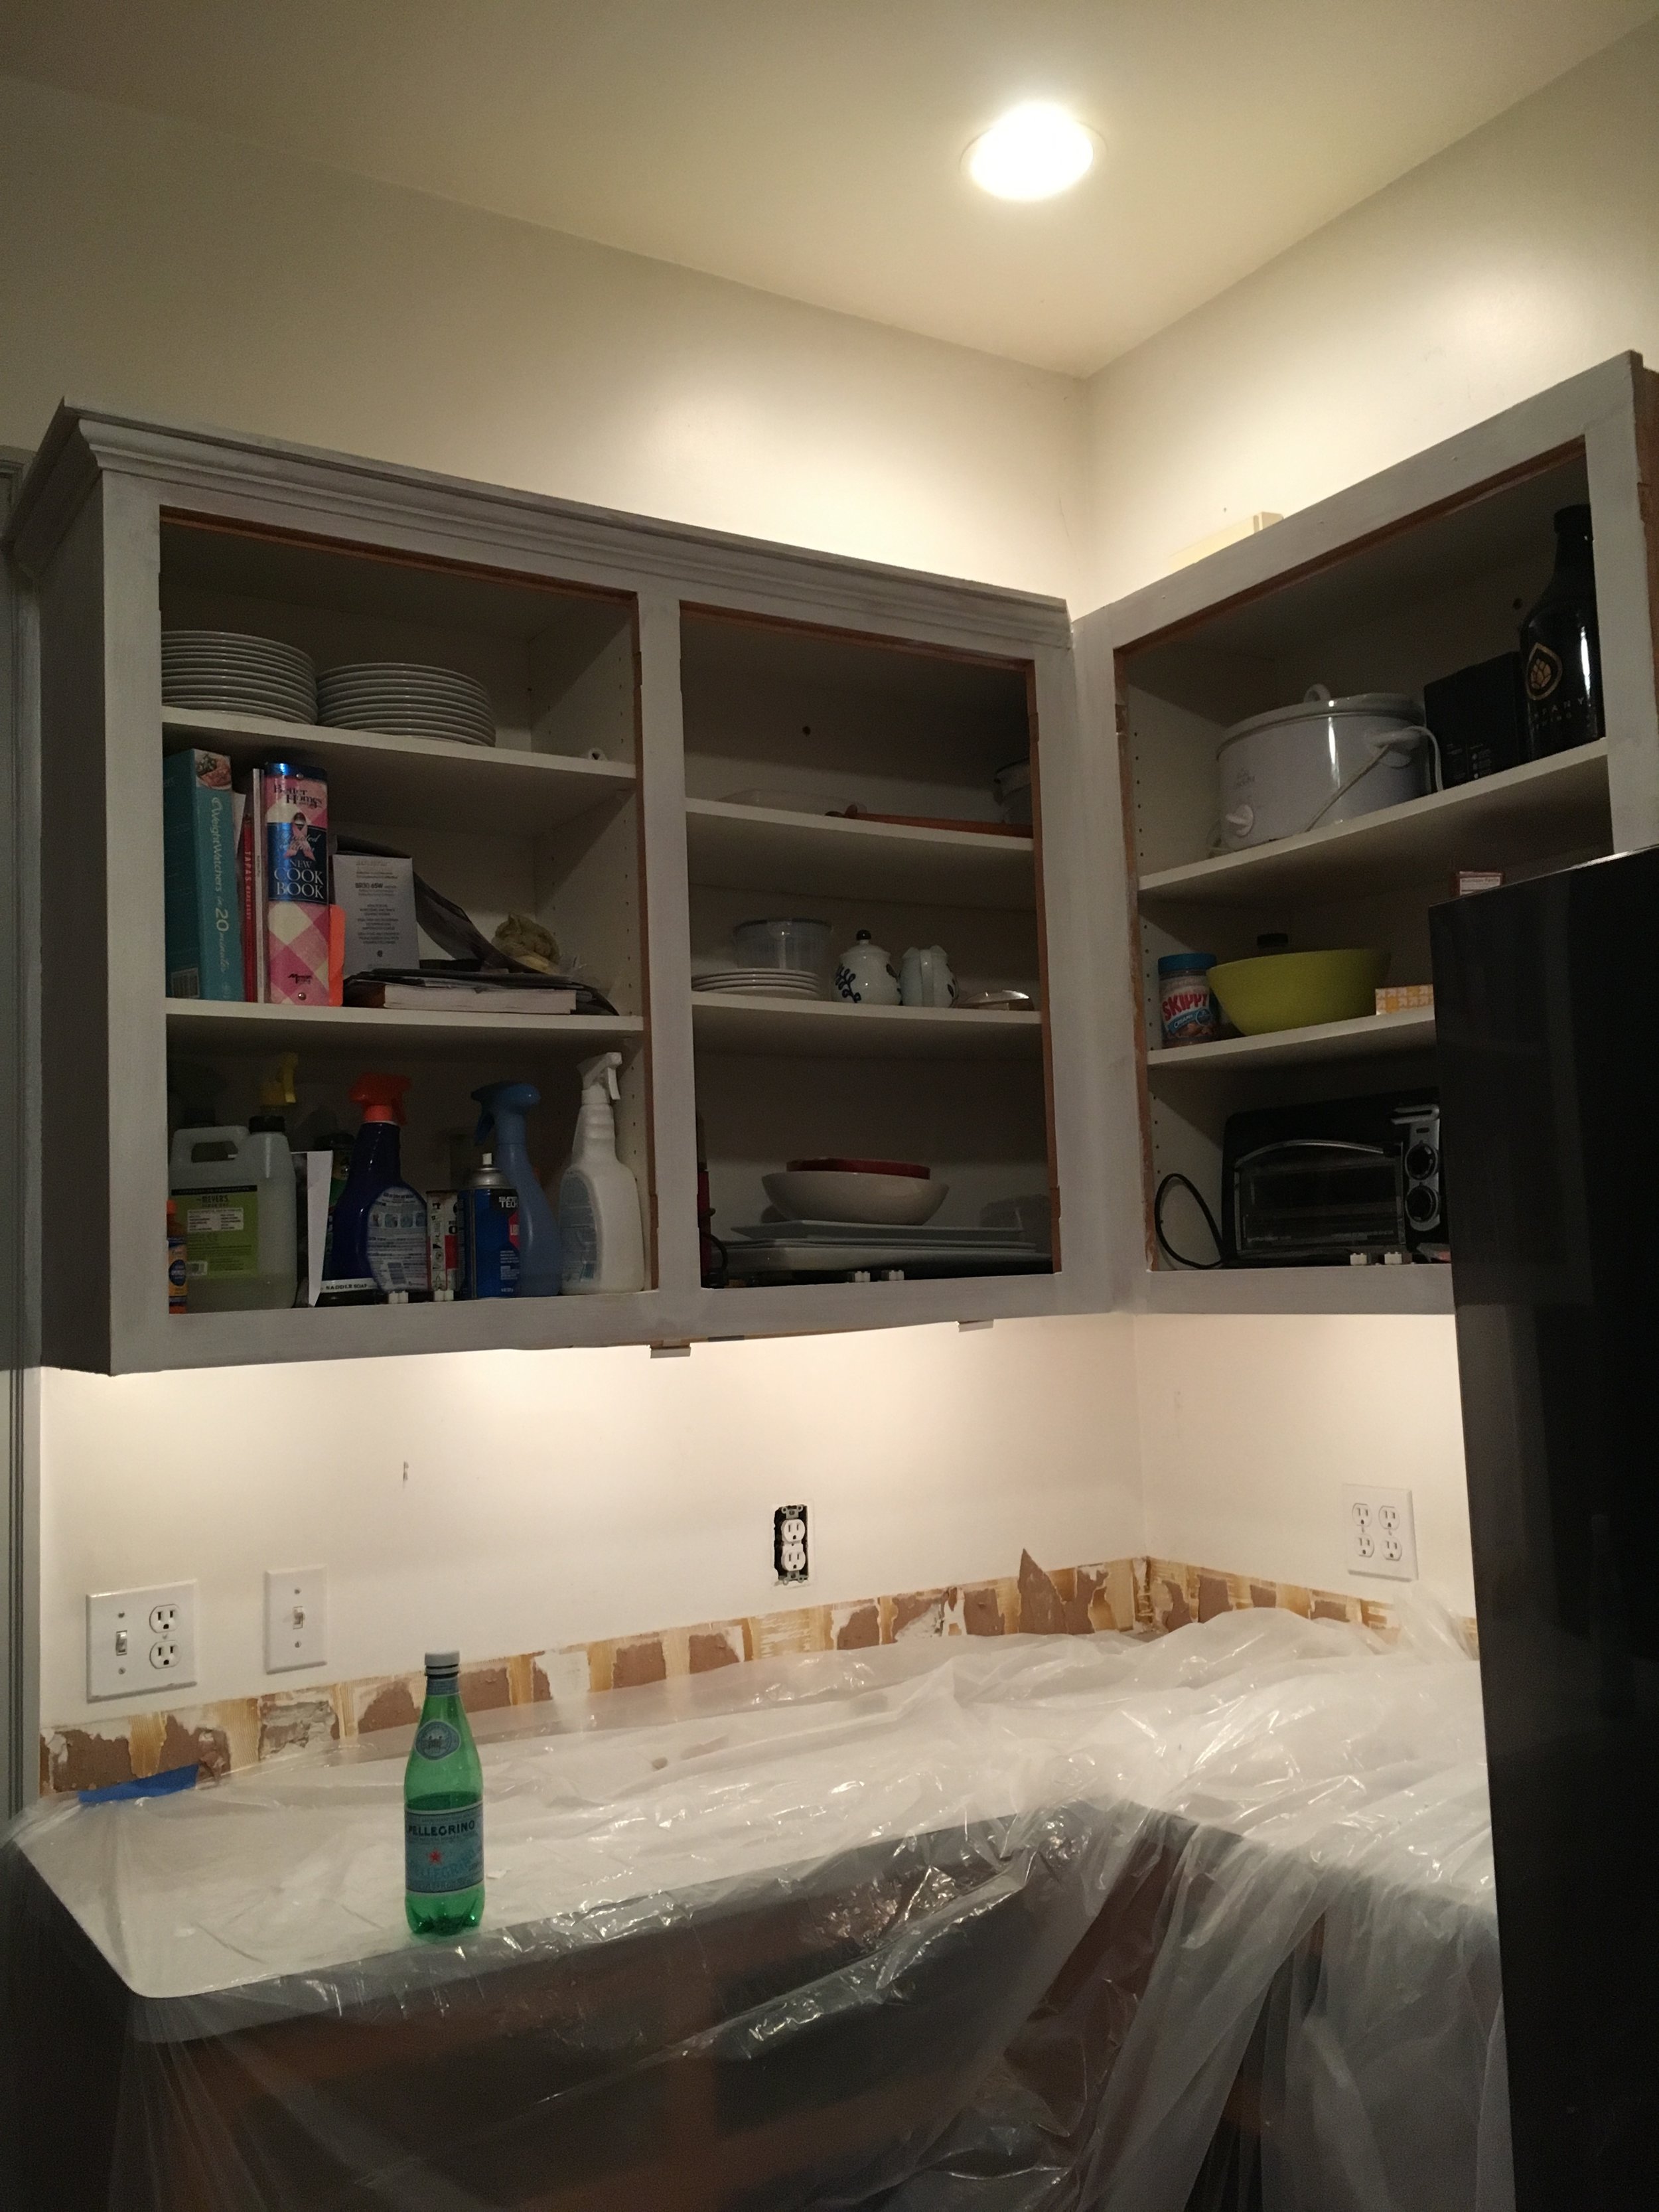
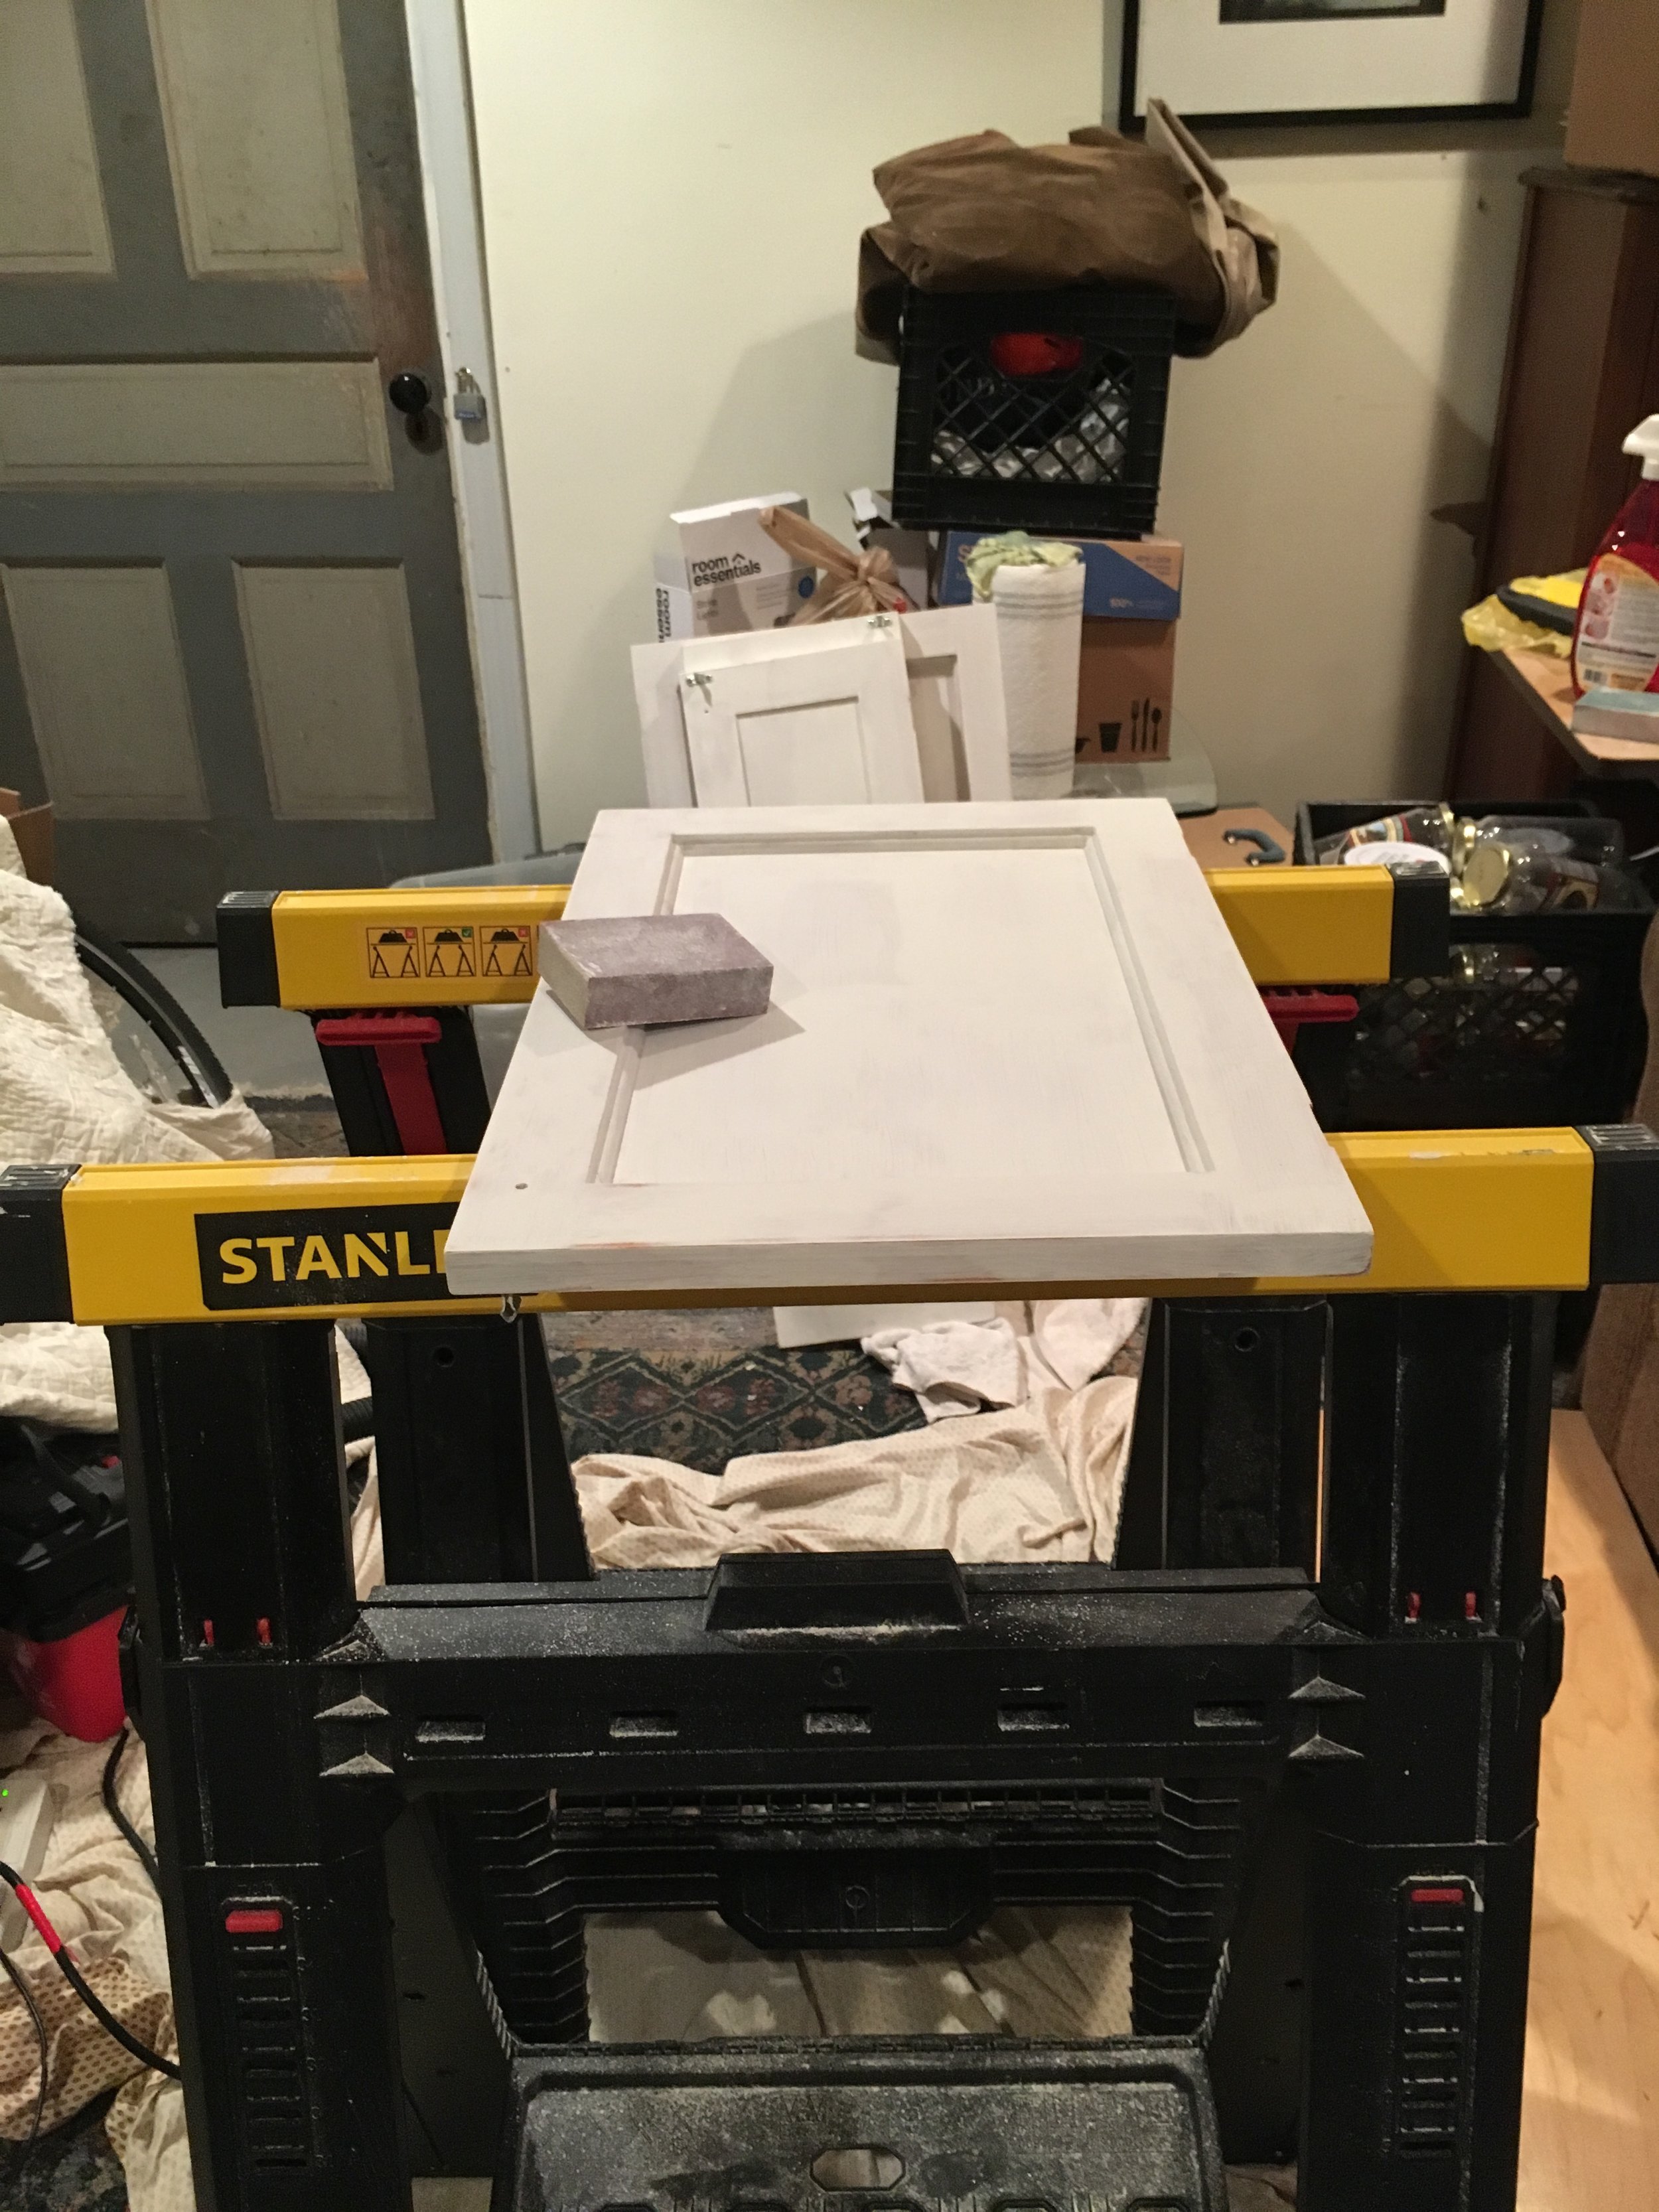
We removed the doors and drawers and moved them to the garage so I could have some open air and still be covered. I scrubbed them down with T.S.P. Phosphate Free cleaning solution, but I wish I would have just used the more industrial strength version, I feel it would have been more effective and saved me a lot of time. After cleaning all the pieces I began sanding them down, I can’t stress enough how important it is to wear a mask while doing this, full disclosure I developed a really nasty upper respiratory infection during the renovation process and it was extremely unpleasant! Buy a good quality mask and wear it! After sanding down the doors, drawers and the part of the cabinets attached to the wall, we vacuumed (little shop vac) and then used tack cloth on all surfaces. Following cleaning off the dust I applied primer and then repeated the process, once I had a smooth and clean surface I began applying paint, I tried to use a foam roller designed for cabinet work as much as possible, but used a high quality paint brush where that wasn’t possible.
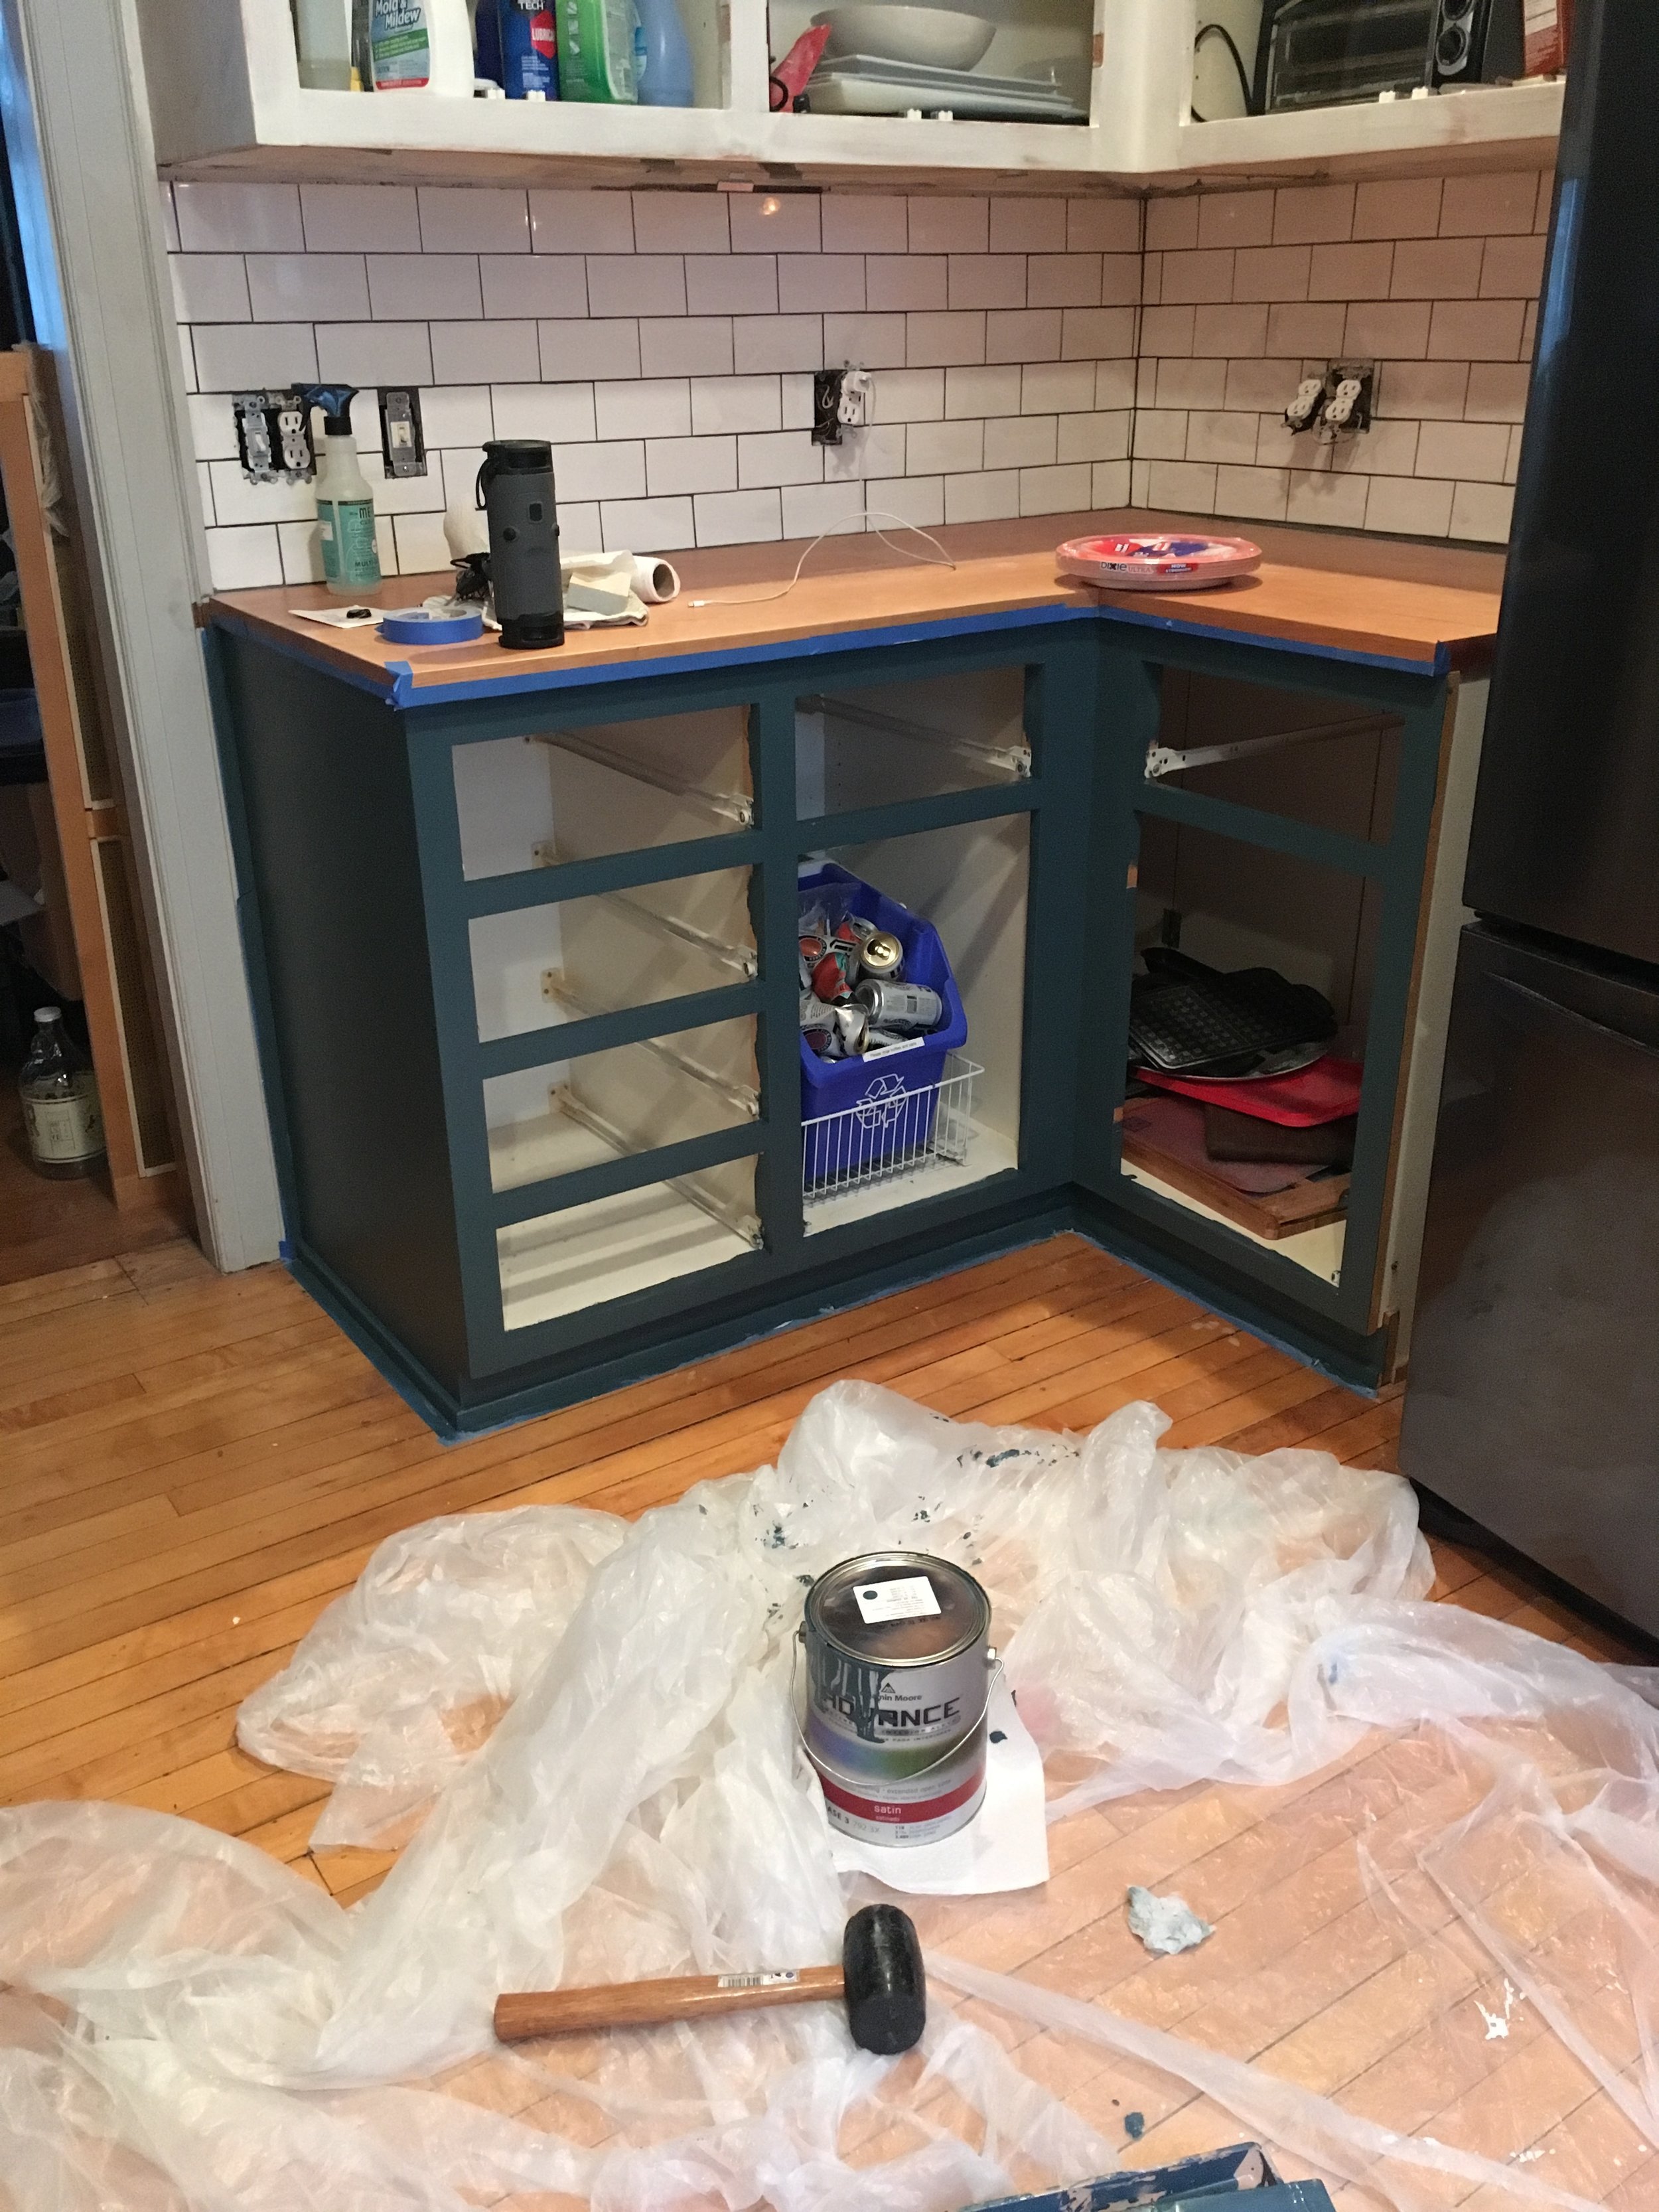
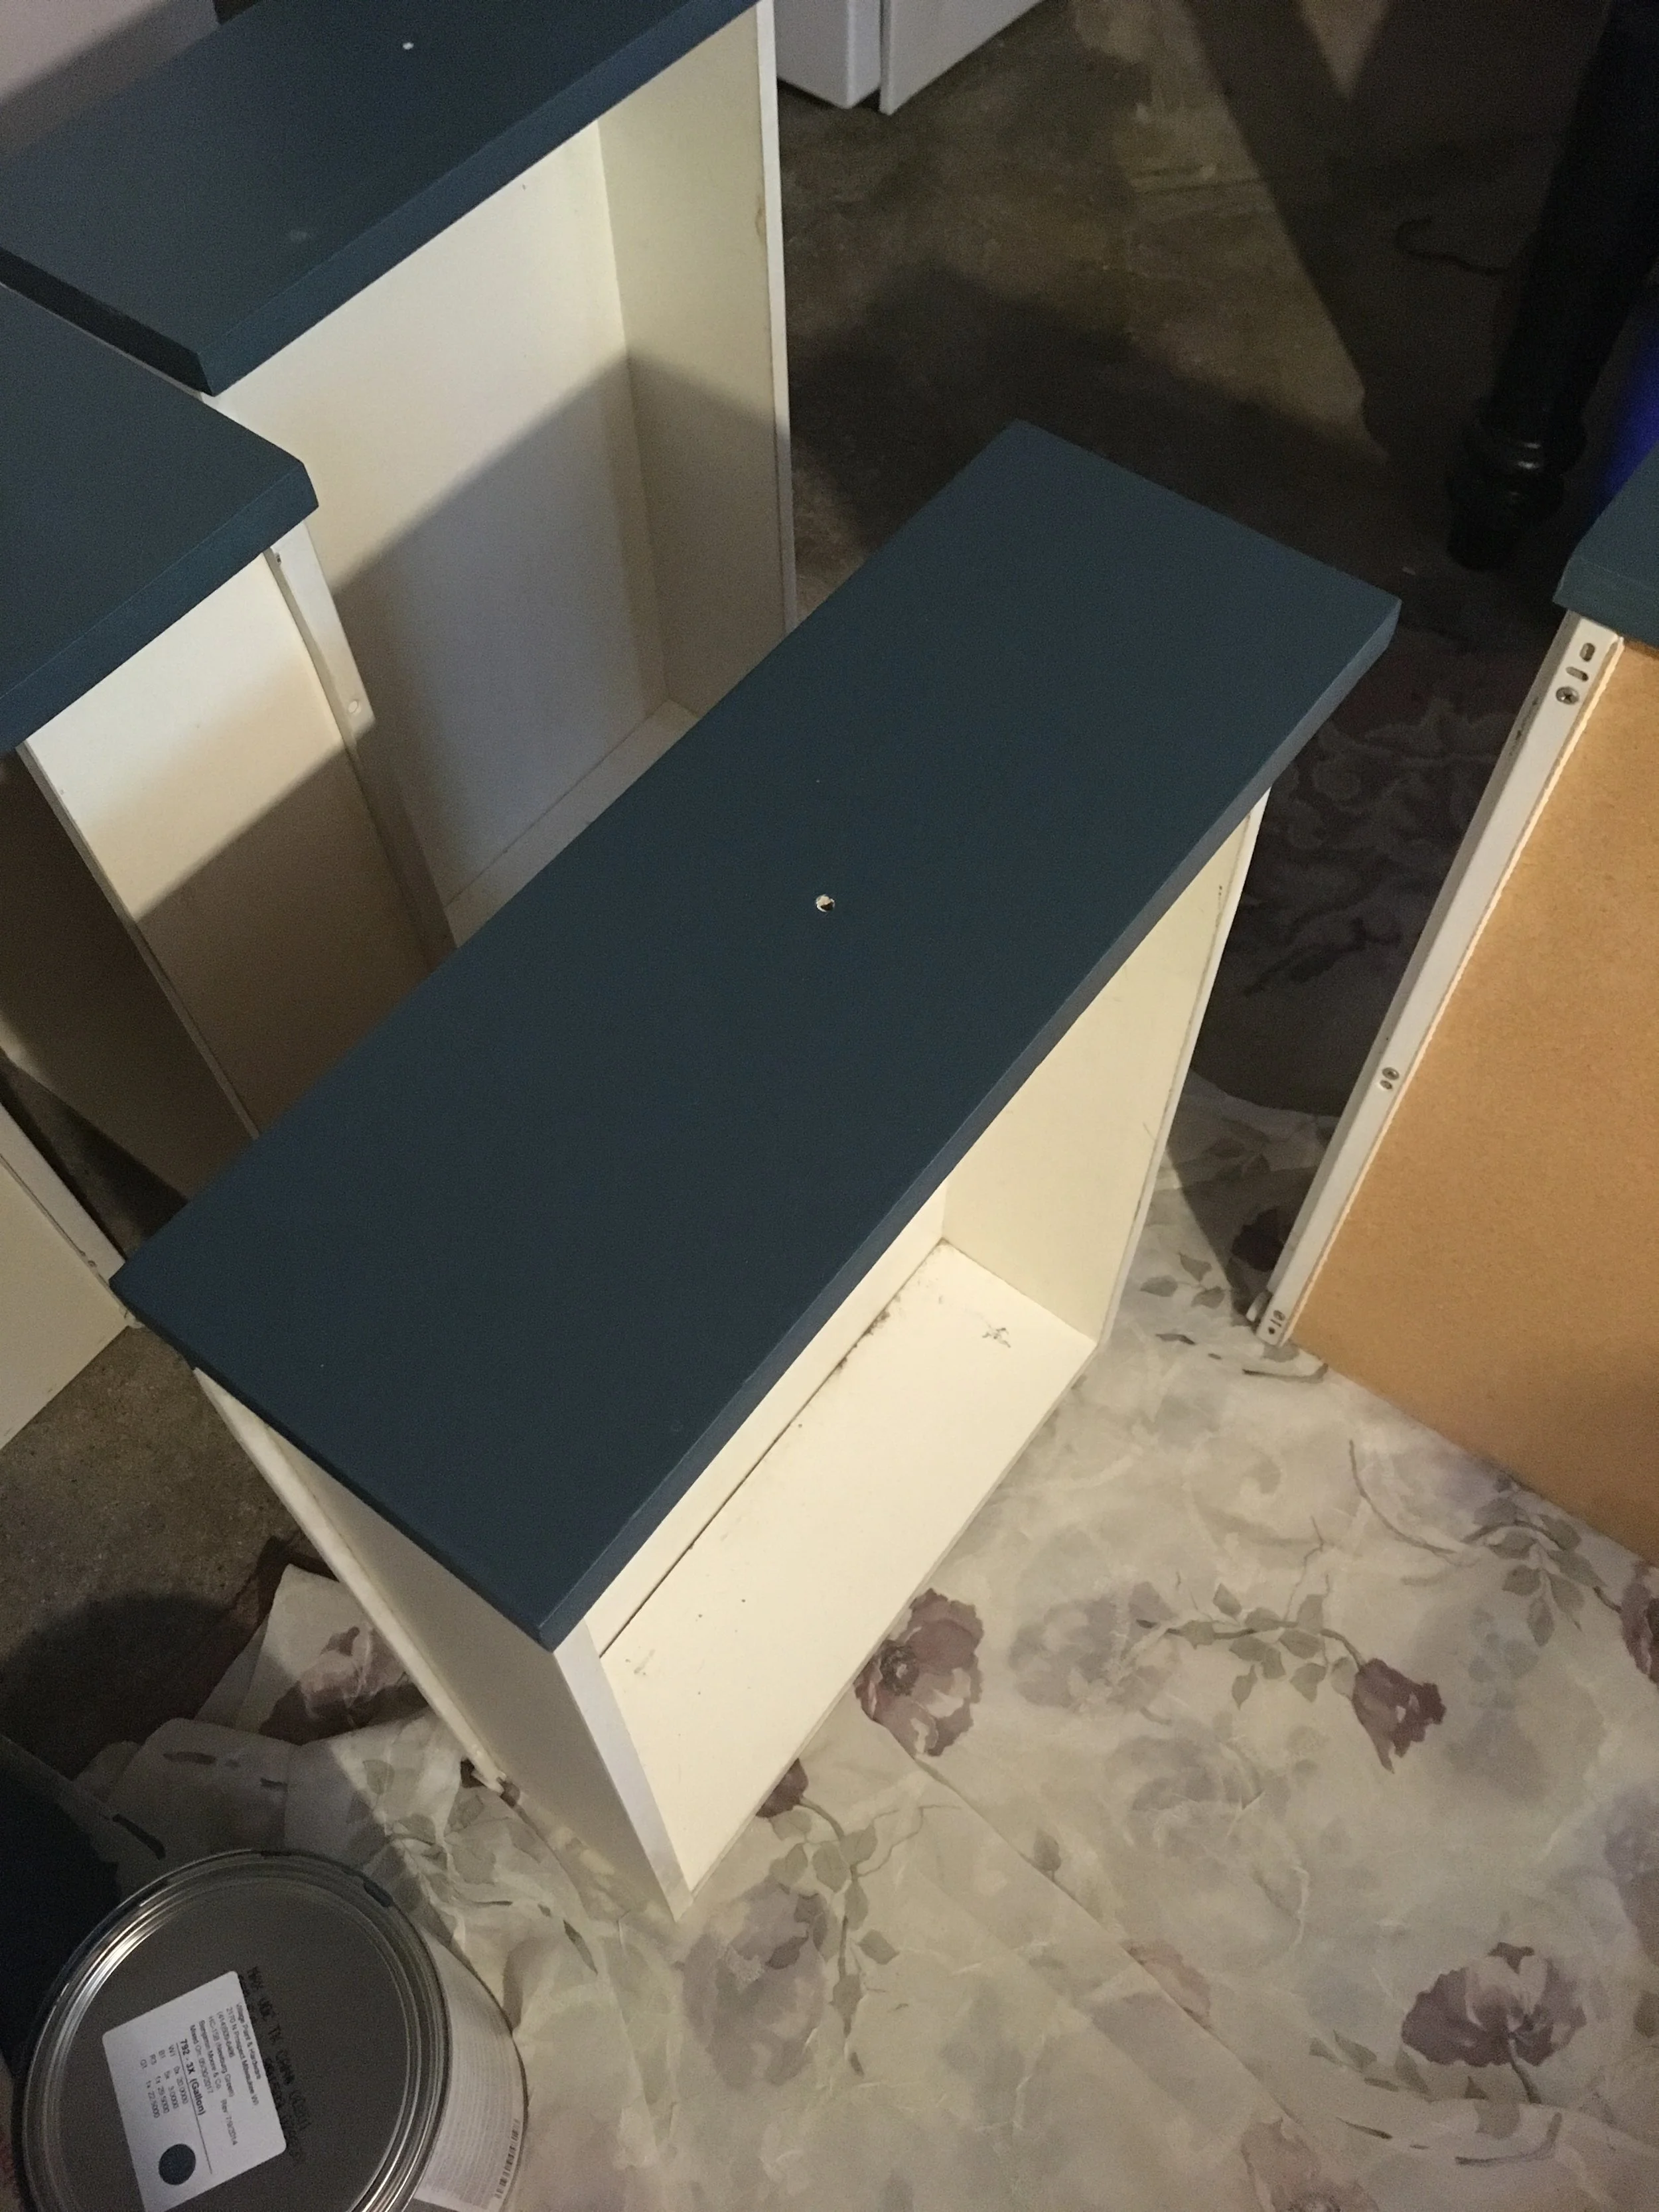
I used Benjamin Moore Advance Satin paint in Grey Owl for the upper cabinets and Newburg Green for the lower cabinets. I really like how the colors turned out, but I was also really happy with the quality of the paint. Getting everything clean of grease and dirt and making sure surfaces are smooth is truly the most important thing to success in this process. I think if I would have used a roller more when applying primer I would have saved myself a huge amount of time that I ultimately spent sanding things down when trying to achieve perfectly smooth surfaces.
I think I will save the fully completed look of the cabinets for one of my final posts, but I will show you the process of cleaning, sanding and painting. Additionally I will show you the final product of the chimney which I featured in my first renovation post.
I know I’ve shared how frustrating this process can be, but in my usual fashion I’m again ready to take on another challenge, I’m never fully satisfied. I am incredibly grateful and happy with what I have, and what I’ve accomplished, but I’m always reaching for more, I don’t know if that’s good, but it’s me. Stay tuned for the remaining kitchen renovation posts. I hope you love it as much as I do!
XOXO,
Kate

